Order Monitors (Customer Portal)
The Order Monitor module is a key section within the WMS system, designed to visualize, manage, and monitor the status of purchase orders that must be fulfilled in the warehouse. Its main function is to provide real-time control over each stage of the logistics process, from order creation to completion.
This section provides detailed descriptions of the steps required to take full advantage of the options offered by this module in the customer portal.
How to access the module from the customer portal?
Once you log into the customer portal, go to the left sidebar menu and click on the Order Monitor option.
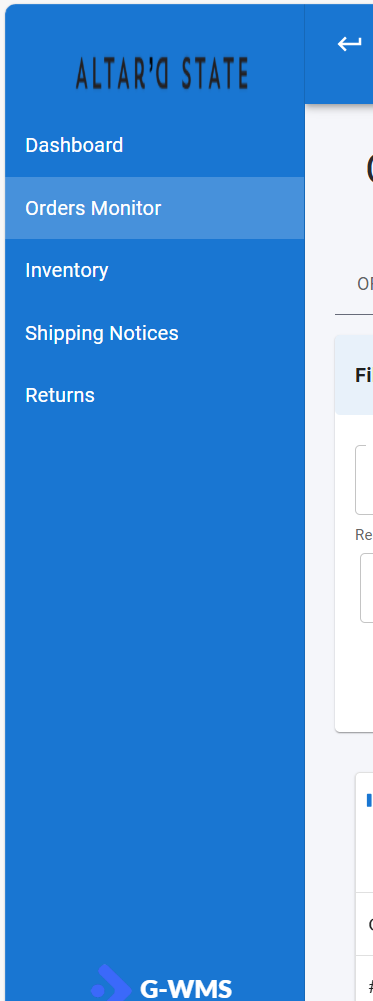
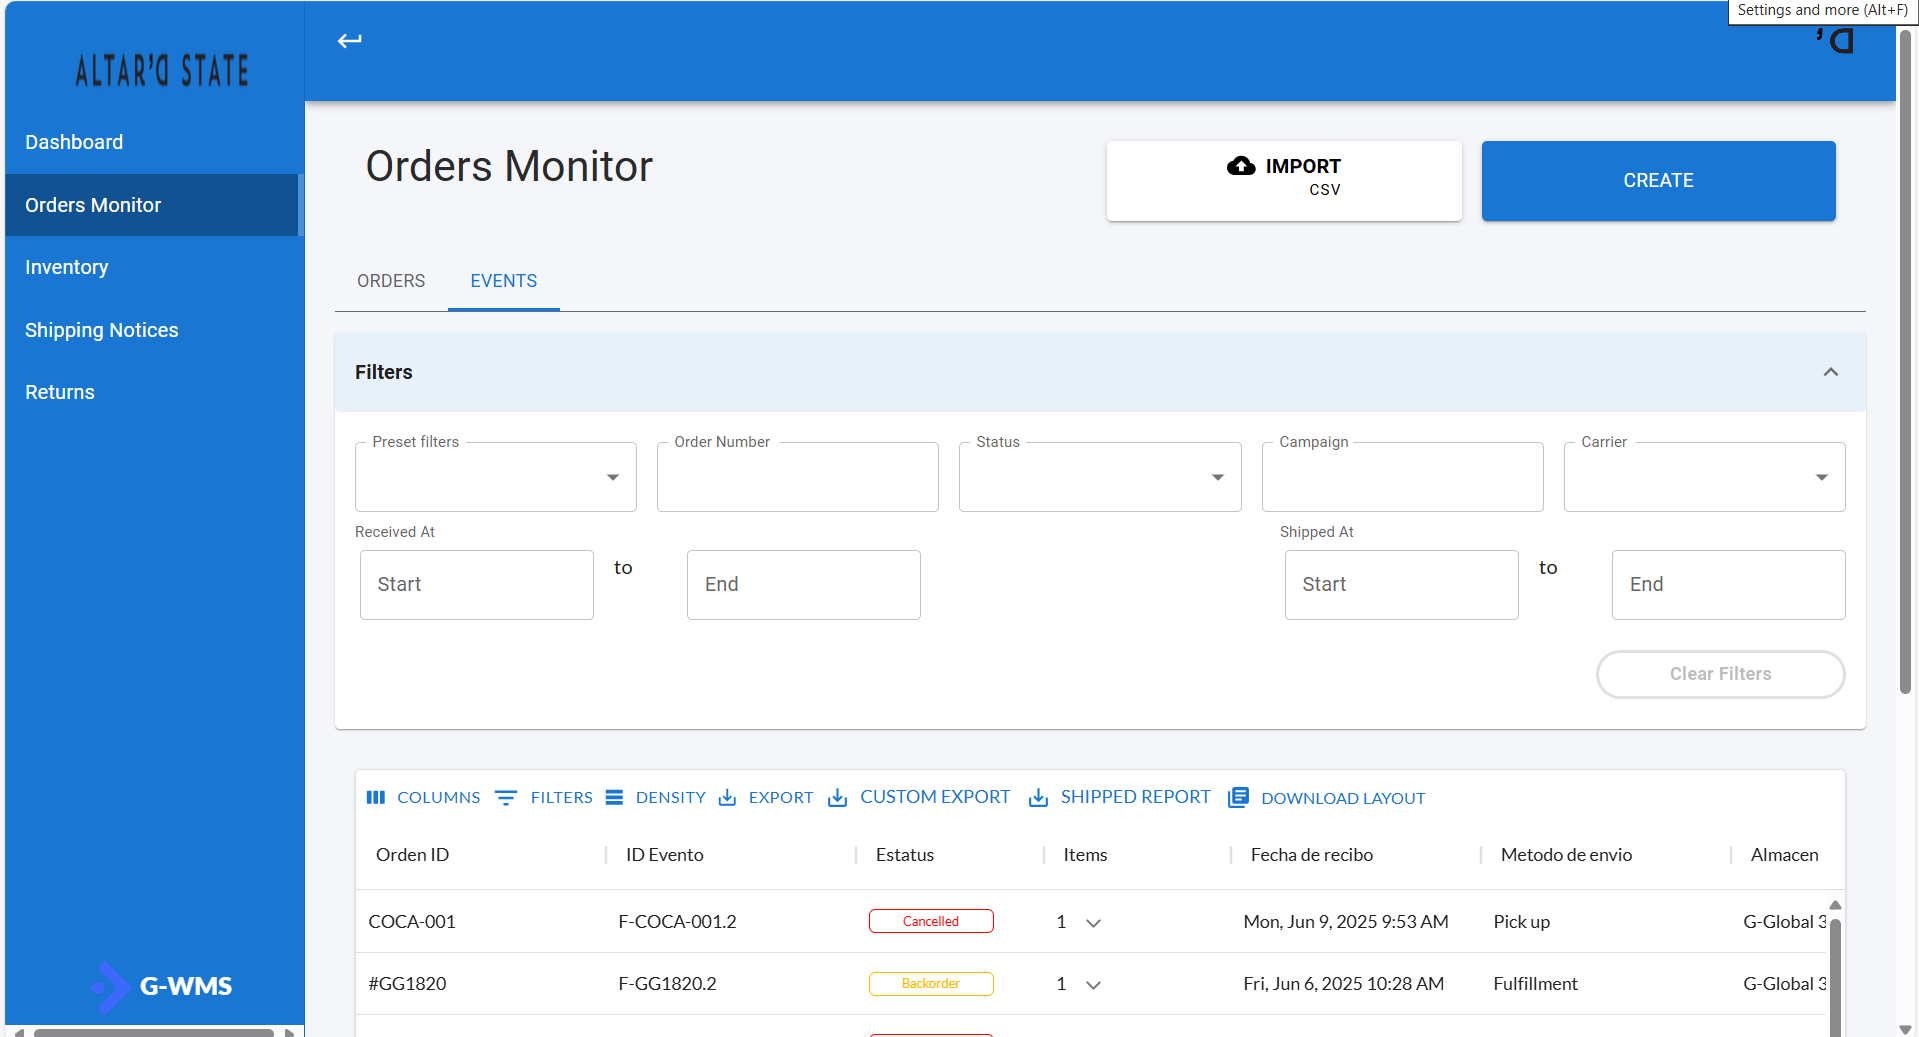
Next, the main view of the module will appear, where you can see the generated orders organized in a table. This view includes filters to customize the displayed information according to your needs, as well as buttons to create new orders.
How to generate an order in the customer portal?
The customer portal offers two ways to create orders: the first is through a form provided by the system, where required data is entered manually; the second is by uploading a .csv file using a downloadable template available in the portal, allowing for mass order creation.
Through the portal
To create an order through the portal, click the CREATE button located at the top left.

A form will be displayed where you must enter the following information:
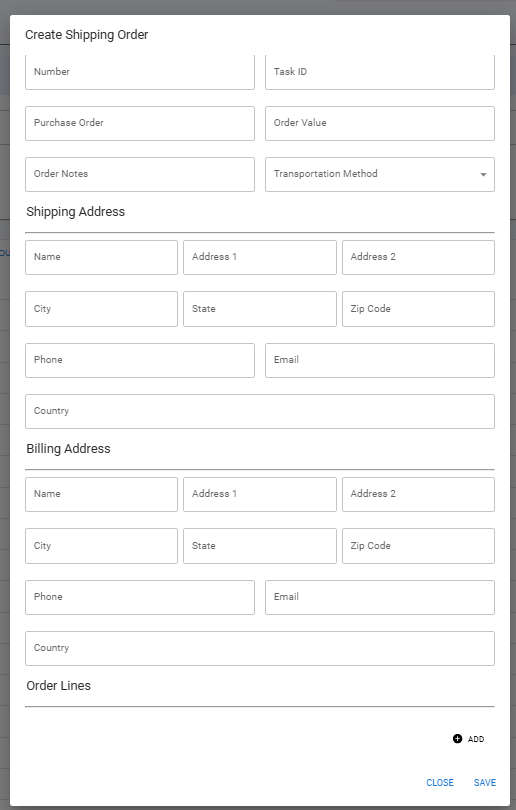
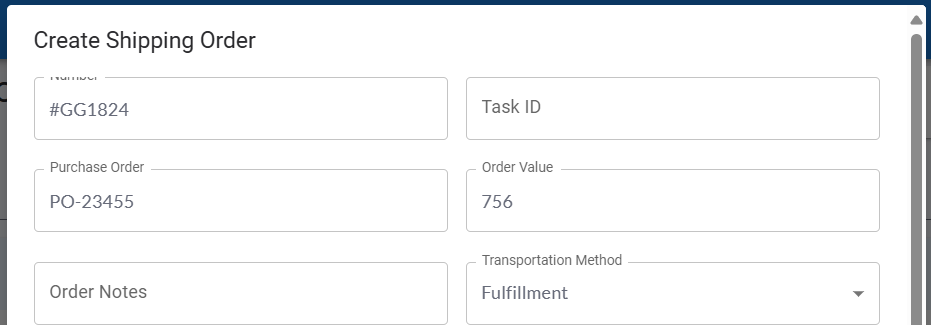
In the first section of the form, fill in the following fields:
- Number: Unique identifier of the order. It must not be repeated or previously registered.
- Task ID: Also works as an identifier. It can be left empty if not required.
- Purchase Order: Purchase order number. This field is mandatory.
- Order Value: Total cost of the order.
- Order Note: Additional description for the operations team. Optional.
- Transportation Method: Defines the order’s transportation process.
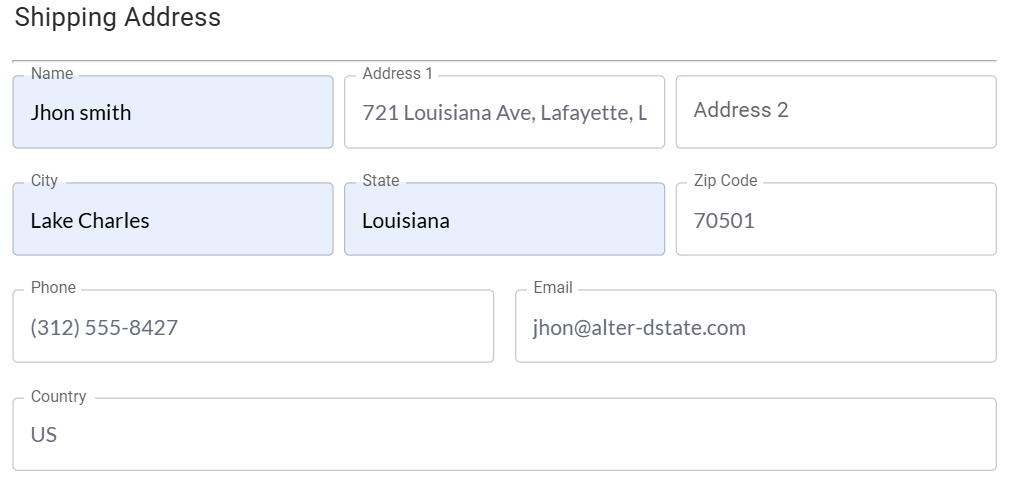
In the second section of the form (Shipping Address), complete the following fields:
- Name: Name of the responsible company or recipient.
- Address 1: Main shipping address including street, number, and other relevant details.
- Address 2: Optional field for address complements like floor, apartment, or reference.
- Zip Code: Postal code of the shipping address.
- Country: Country code or name.
- Phone number: Recipient’s contact phone number.
- City: Destination city name.
- State: State, province, or region.
- Email: Email of the recipient or contact person.
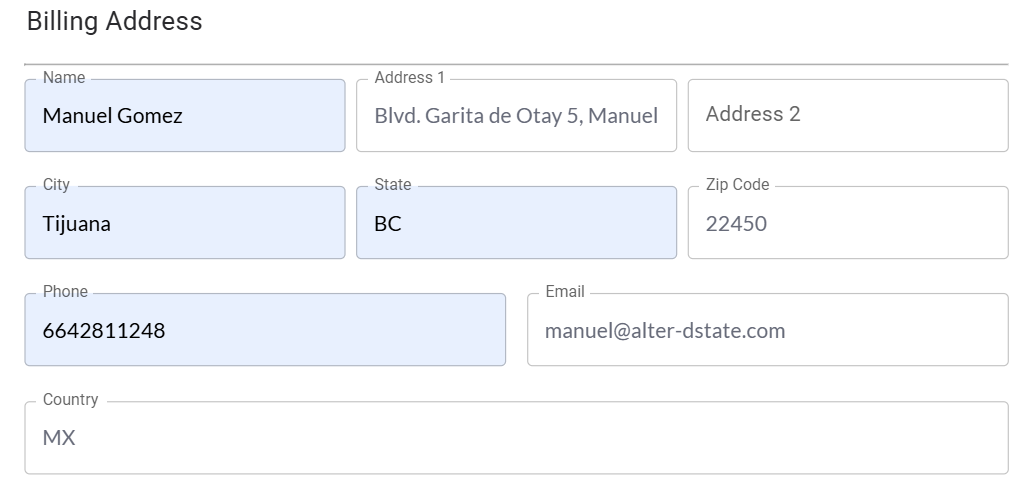
In the third section of the form (Billing Address), complete the following fields for billing purposes:
- Name: Name of the person responsible for billing or authorized contact.
- Address 1: Main billing address including street, number, and neighborhood.
- Address 2: Additional field for detailed billing address.
- City: Billing address city.
- State: Province or region.
- Zip code: Billing postal code.
- Phone: Accounting or administrative contact number.
- Email: Email for invoice delivery.
- Country: Billing country code.
To finish, click the ADD button in the Order Lines section.

Several fields will appear where you can register item details:
- SKU: Unique product code.
- Package Quantity: Number of units or packages to be added.
- Sales Price: Unit sale price of the product.
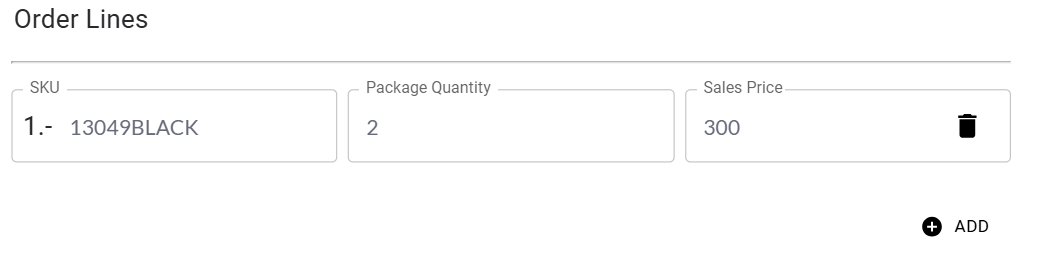
- To remove an added item, click the delete icon (🗑️) next to the Sales Price field.
- To add more items, simply click ADD again.
After validating the entered information, click SAVE to complete the process.

The system will display a green success message once the order is registered.

Through a .csv file
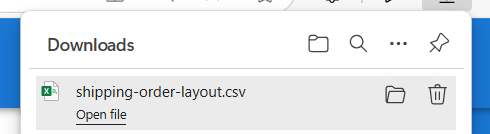
To create orders in bulk, use the .csv upload method. First, click the Download Layout option in the orders table.

This will download a .csv file where you can fill in the order data.
When opened in Excel:
- First column lists required field names. Do not remove them.
- Second column indicates whether each field is required or optional. Use
"N/A"if optional and not used.

Then, fill in the .csv file with your order data, similar to the form method:




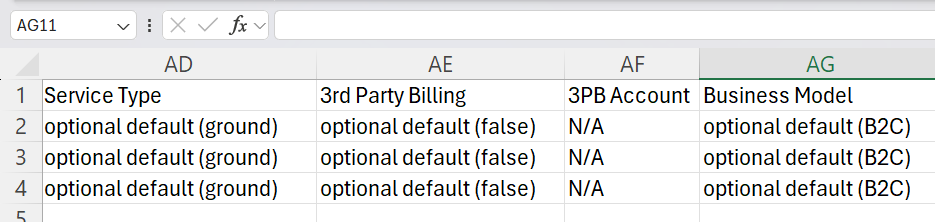
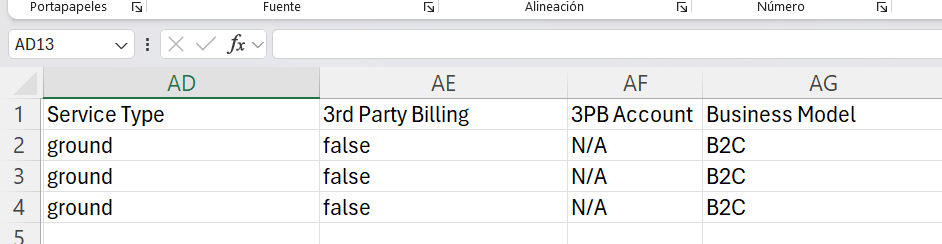
If any column includes optional default(), you may leave the default value in parentheses.
Example:
- Before
- After
You may also replace defaults with system-accepted values:
- Service Type: Must match available service types.
- 3rd Party Billing: Use
trueorfalse. - Business Model: Default is
B2C. UseB2Bif selling to a business.
After completing and saving the file, click Import CSV in the portal.
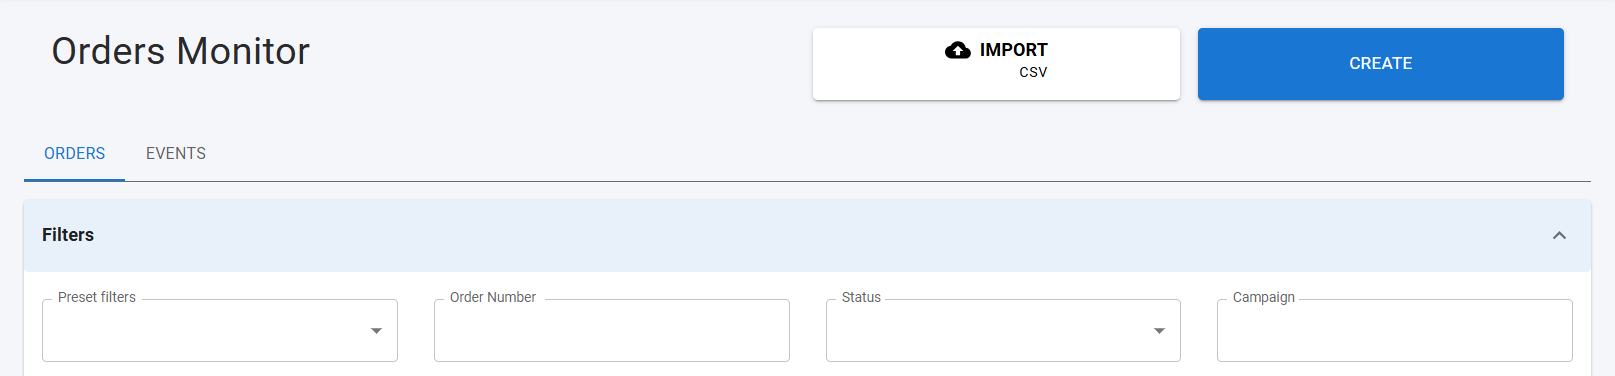
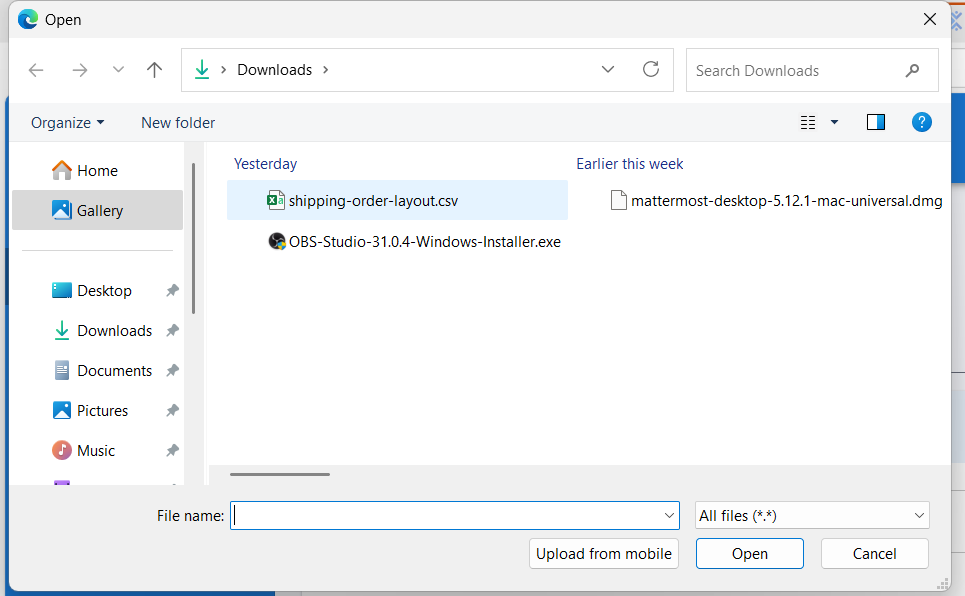
If everything is correct, the system will display a green success message.
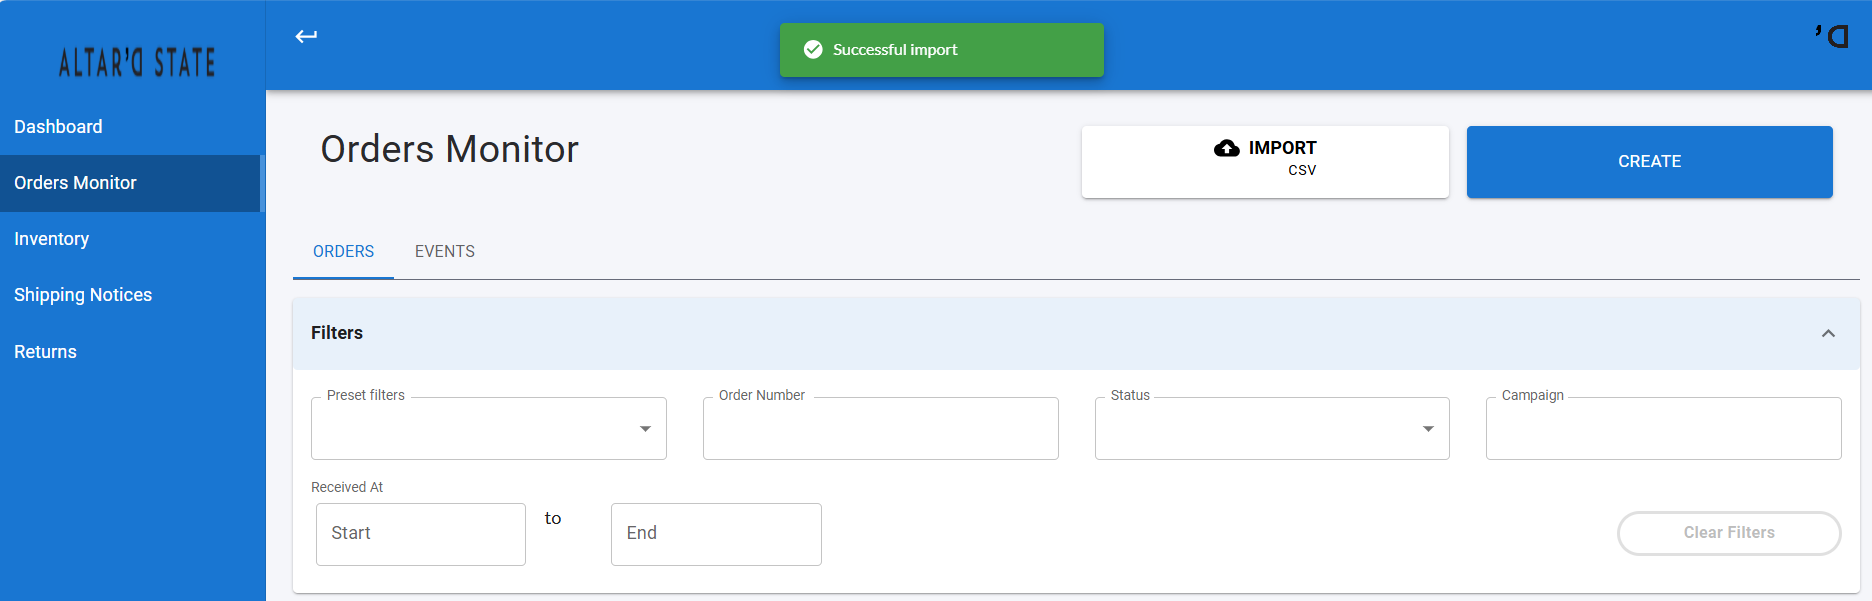
Then refresh the page to see the new orders.

Switching between Orders and Events: Using Tabs
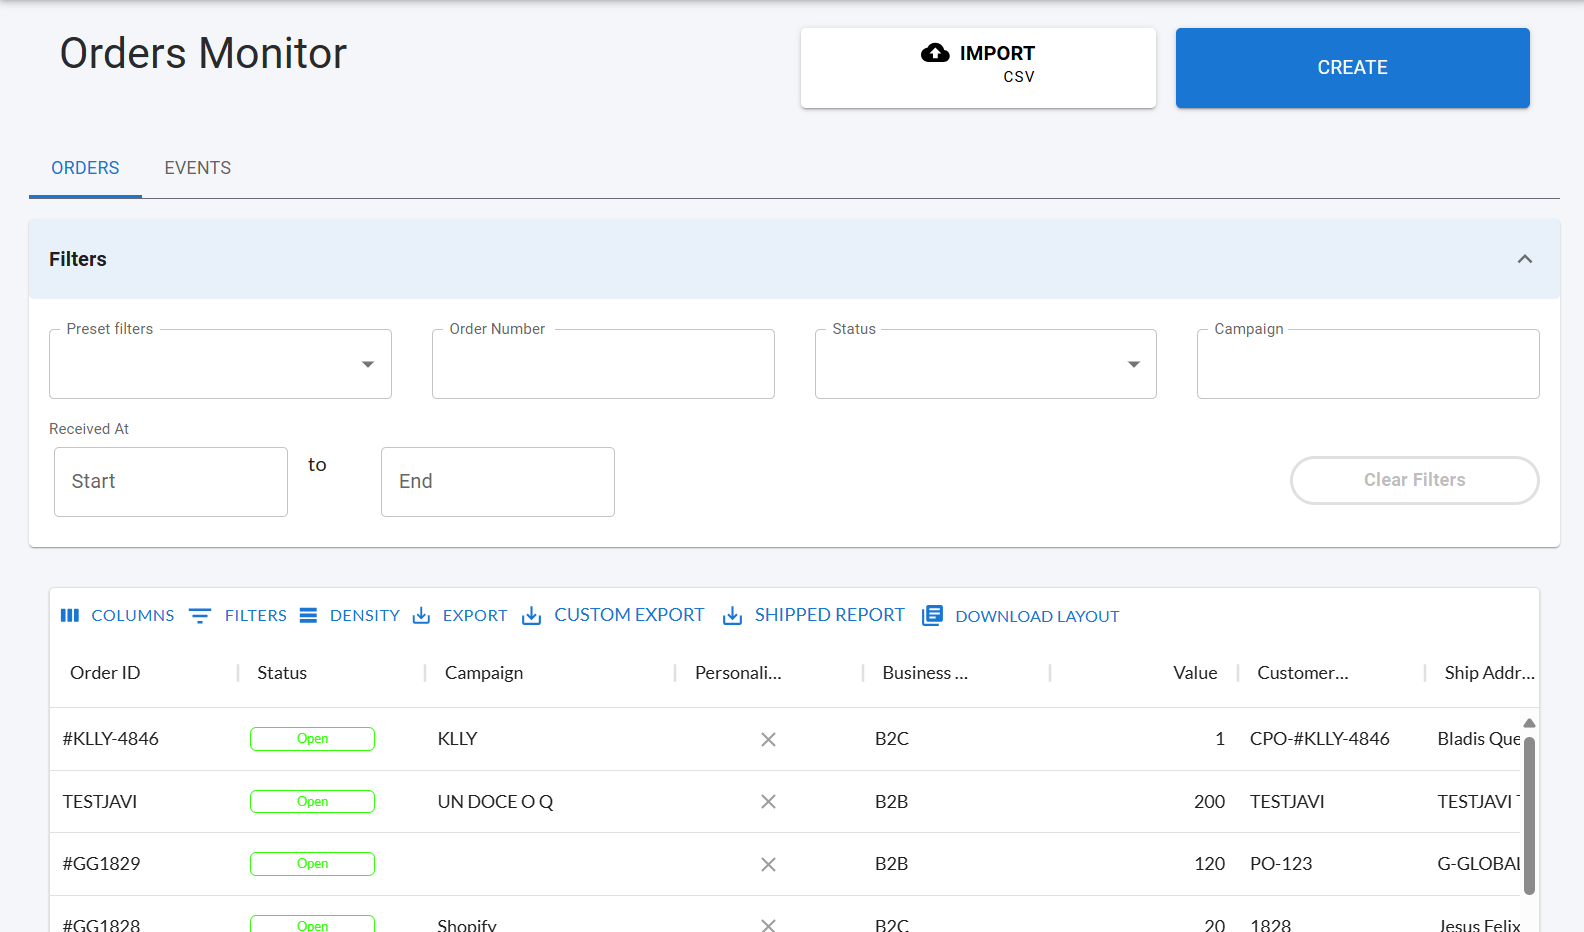
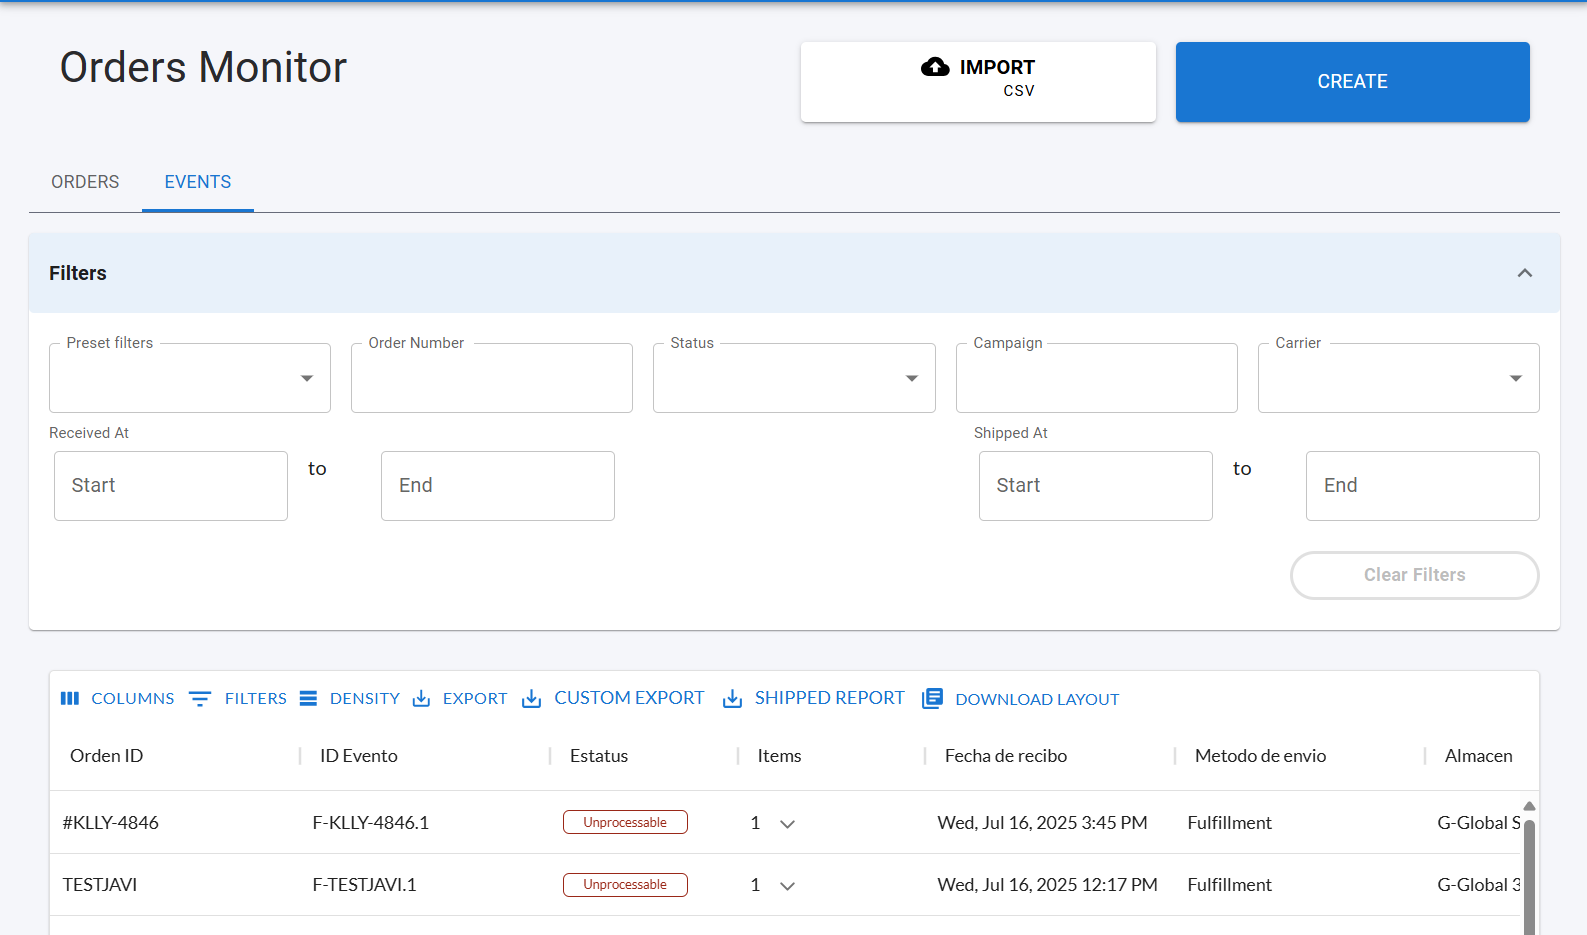
This module includes a tab view functionality that allows users to visualize available information in an organized manner. In addition to displaying the generated purchase orders, you can also view the fulfillment events associated with each order.
By default, the module displays the fulfillment events tab. To switch and view purchase orders, simply click the corresponding tab, as shown in the following images:

Applying Filters in Order Monitor
The Order Monitor module provides various filter options to help you search for purchase orders or fulfillment events that meet specific criteria within the system.
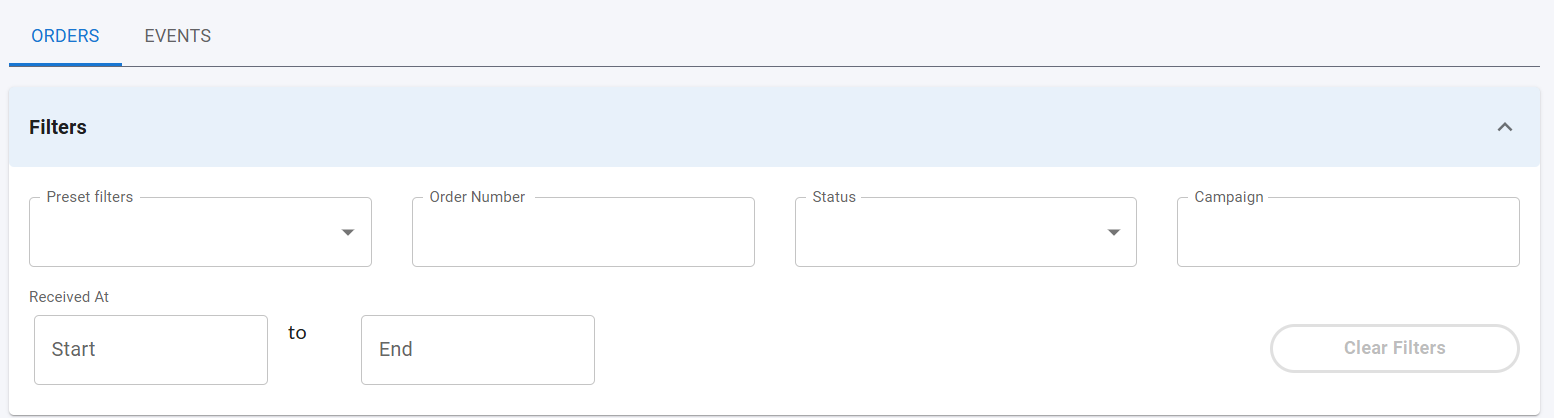
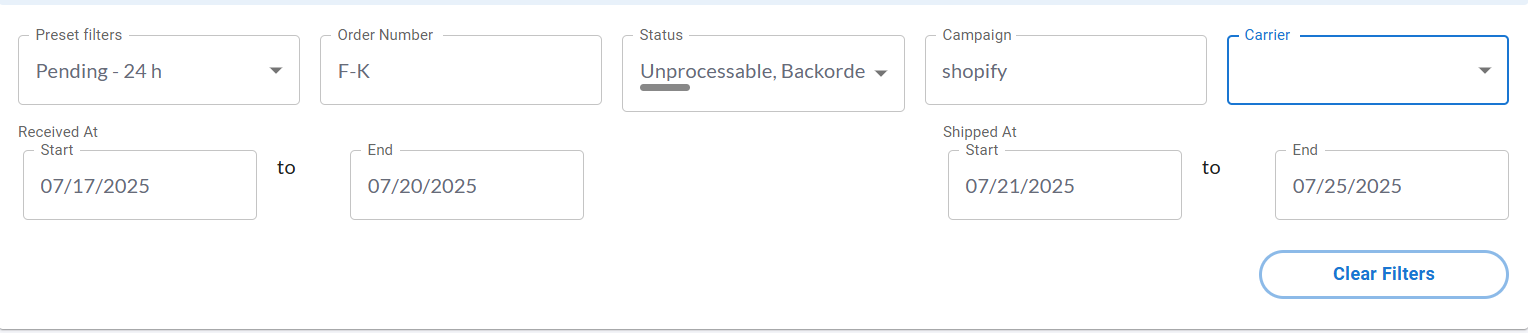
To apply filters, locate the filtering panel at the bottom of the table that displays either purchase orders or fulfillment events.
The available filters will vary depending on the type of information currently displayed (orders or events).
Filtering Options for Purchase Orders
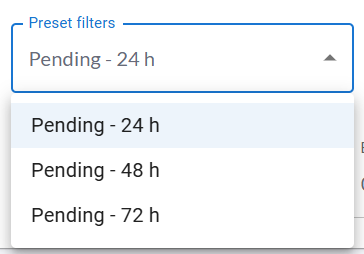
- Preset Filters: Dropdown menu to filter pending orders by time range: 24, 48, or 72 hours.
- Order Number: Search for orders by their unique identifier.

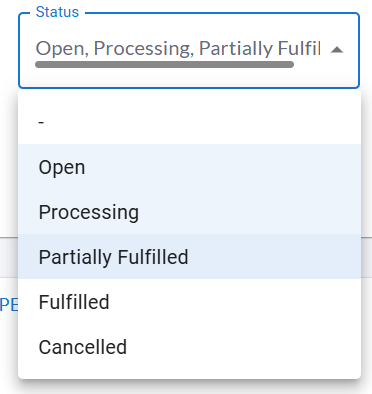
- Status: Dropdown to filter orders by their current status.
- Campaign: Filter orders by campaign name.

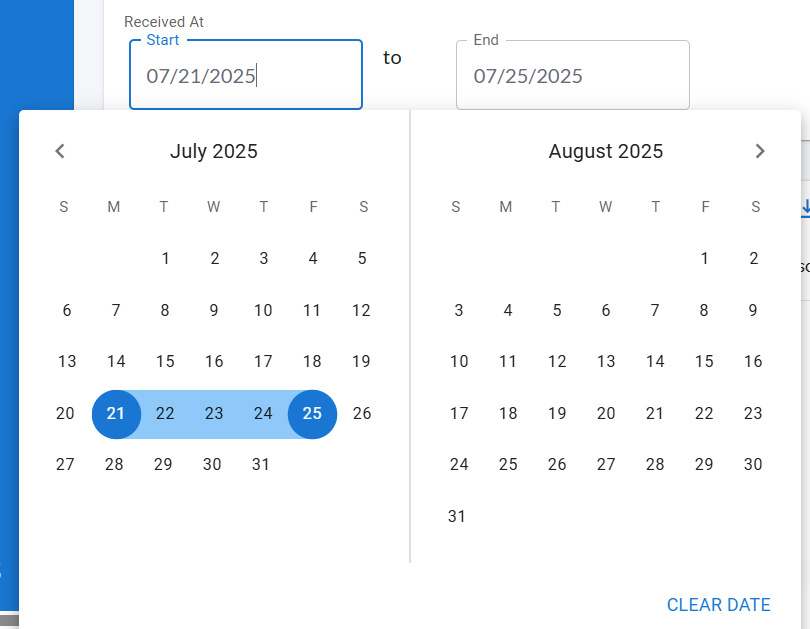
- Received At: Date range filter for order reception.
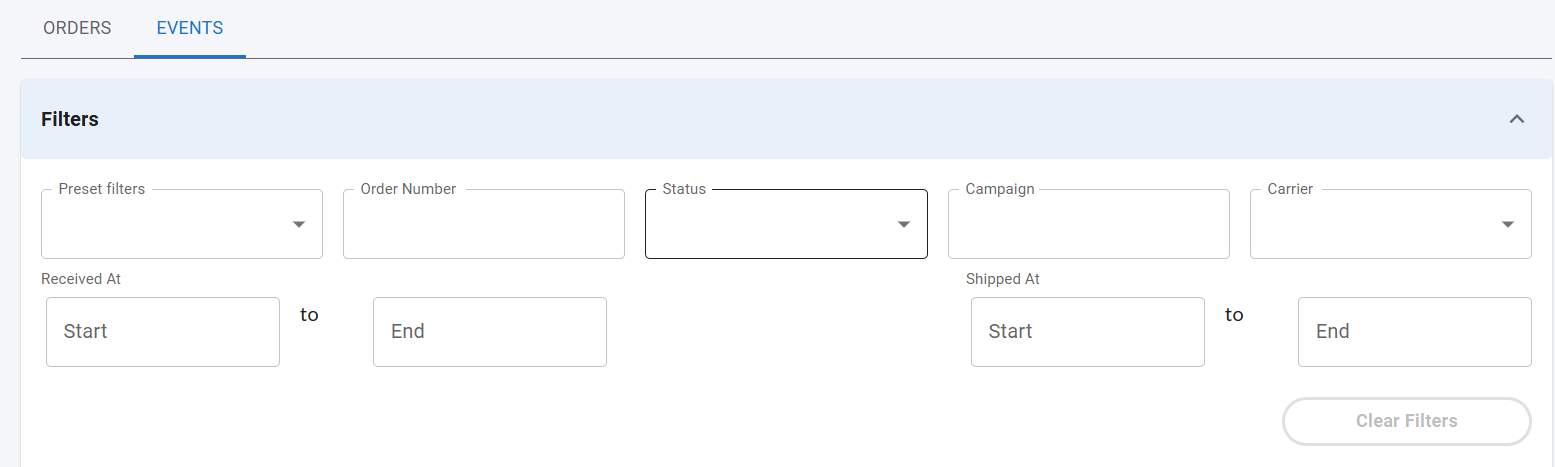
Filtering Options for Fulfillment Events
- Preset Filters: Dropdown menu to filter pending fulfillment events by time range: 24, 48, or 72 hours.
- Order Number: Search events by the related order number.

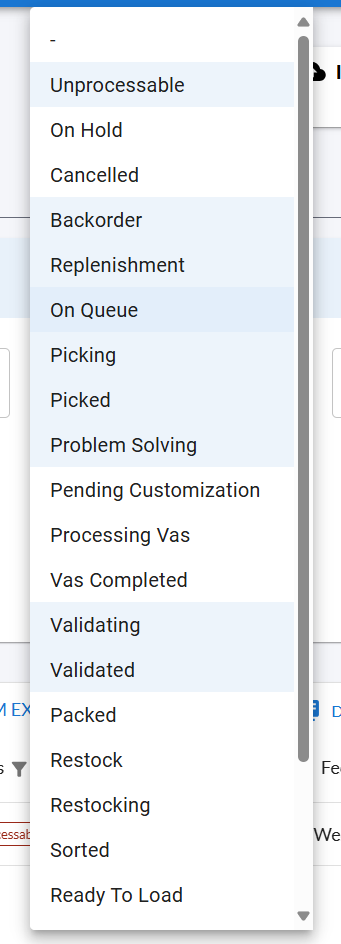
- Status: Dropdown to filter events by their current status.
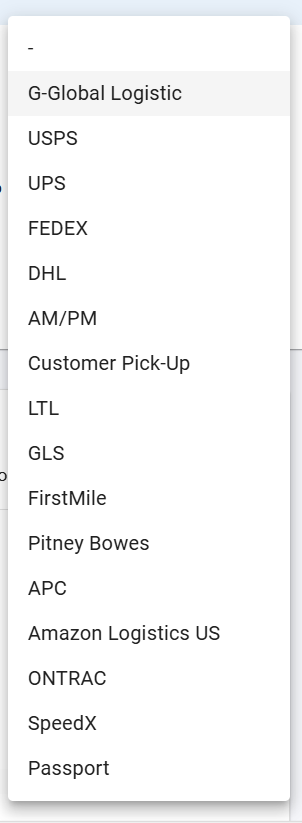
- Carrier: Filter fulfillment events by the assigned transportation carrier.
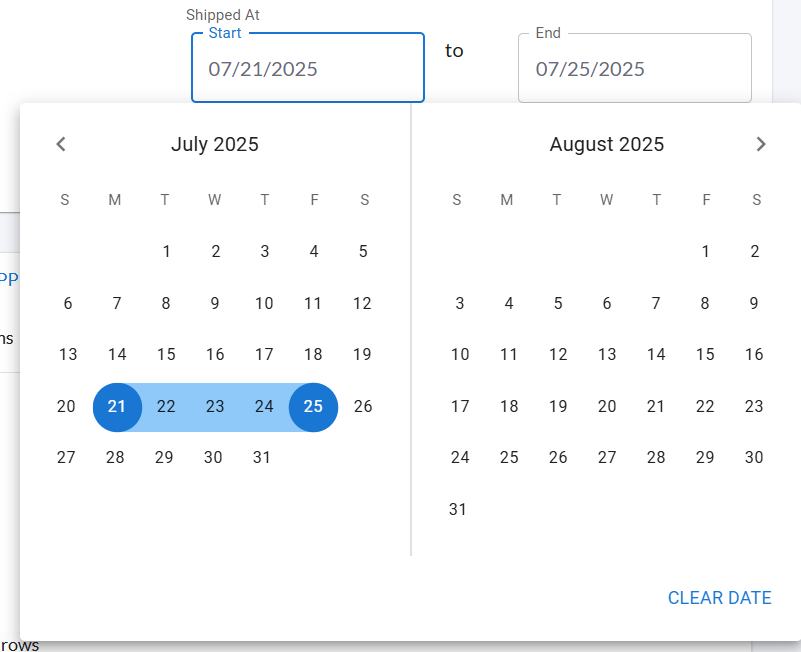
- Received At: Filter events by reception date range.
- Shipped At: Filter events by shipping date range.
To clear all applied filters, click the Clean Filters button. This will remove all filters and restore the full dataset.
How to View Order or Event Details
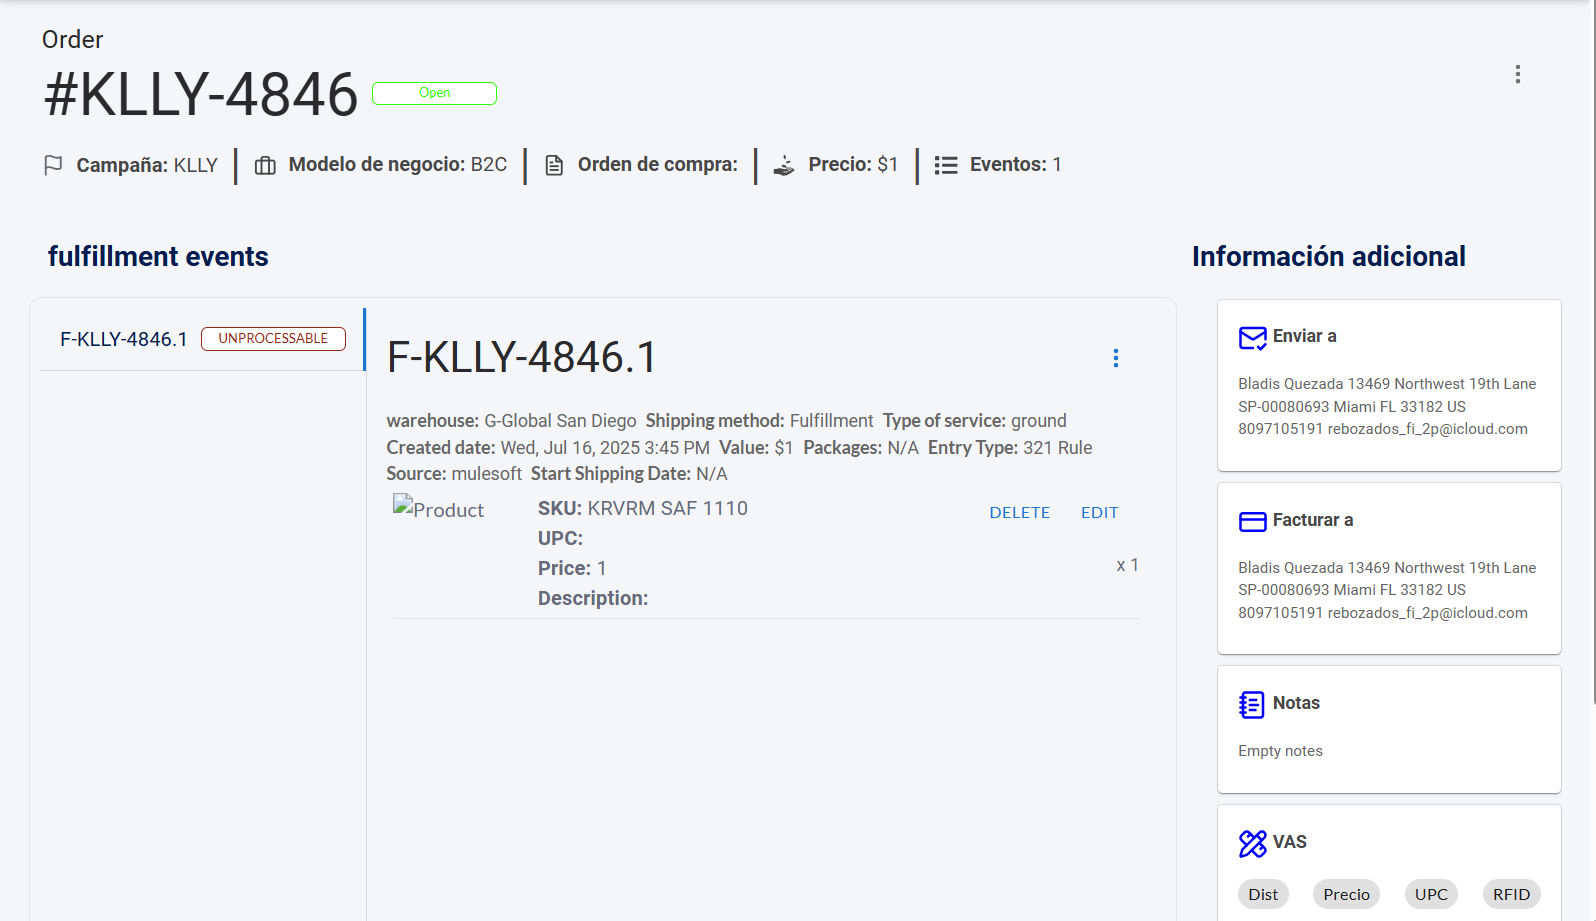
By clicking on a row within the table (either an order or an event), the system will automatically redirect you to a detailed view showing relevant information about the order along with its associated fulfillment events.
Order Actions
In the order detail view, several essential management options are available. These are located in the upper right corner and grouped in a dropdown menu accessible by clicking the three dots icon (⋮), as shown below:
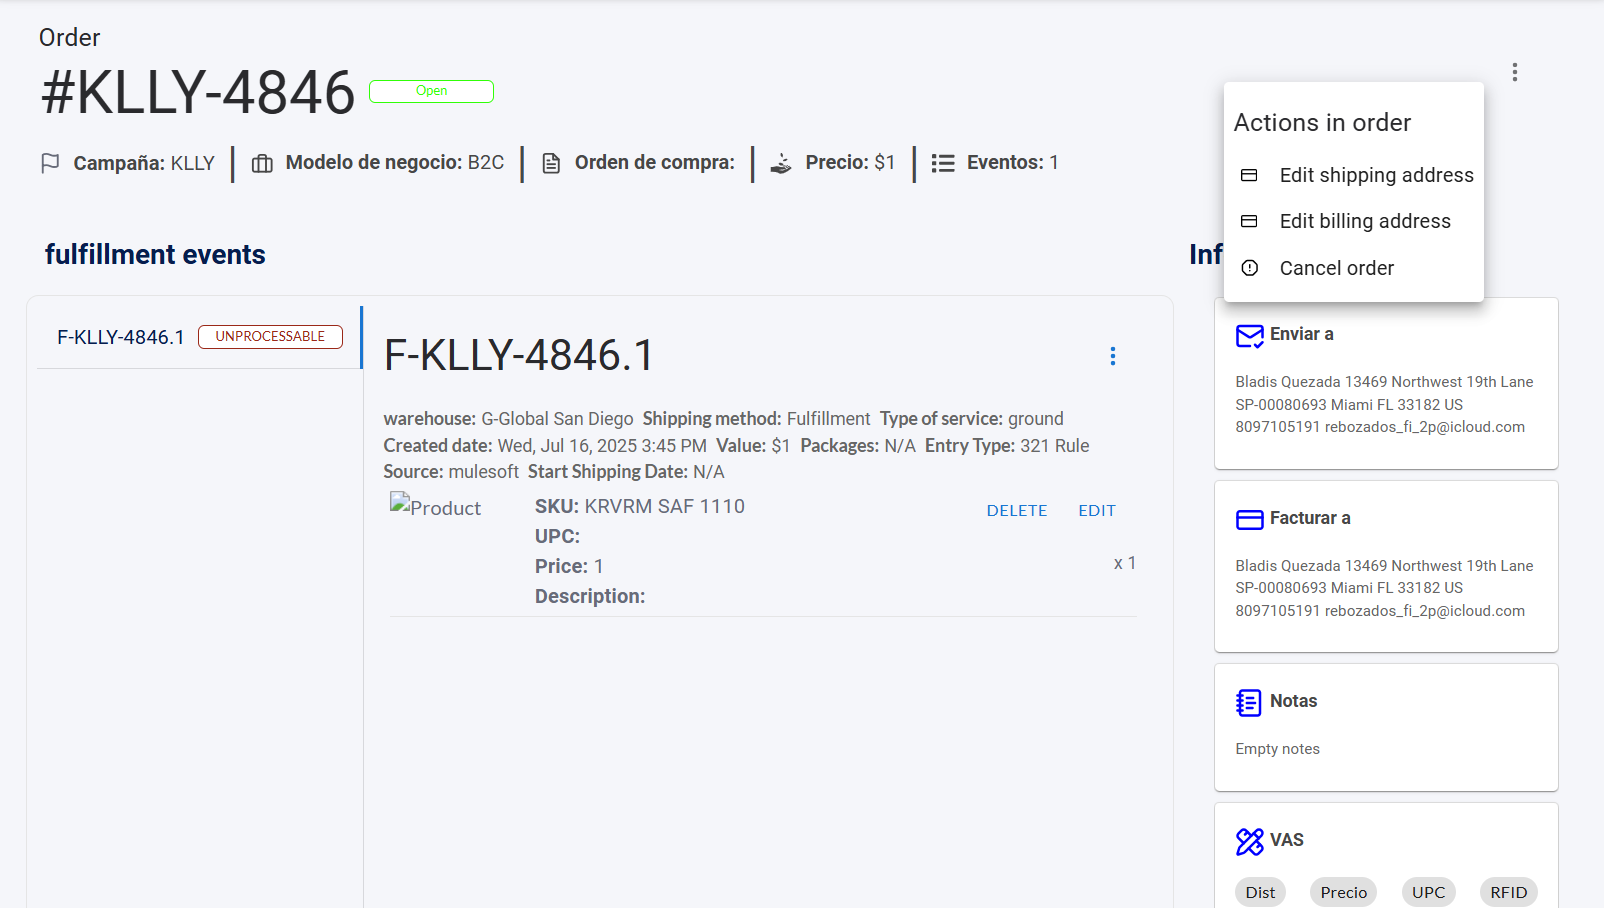
The following options are available:
Edit Shipping Address
To edit the shipping address for an order:
- Click the three dots icon and select Edit shipping address.
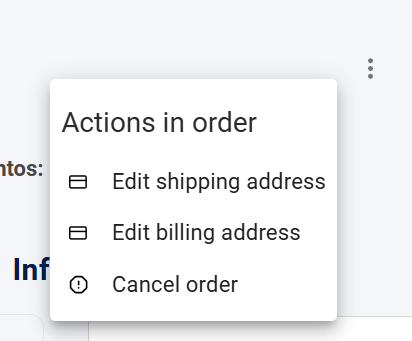
- A popup will appear where you can update the shipping address details.
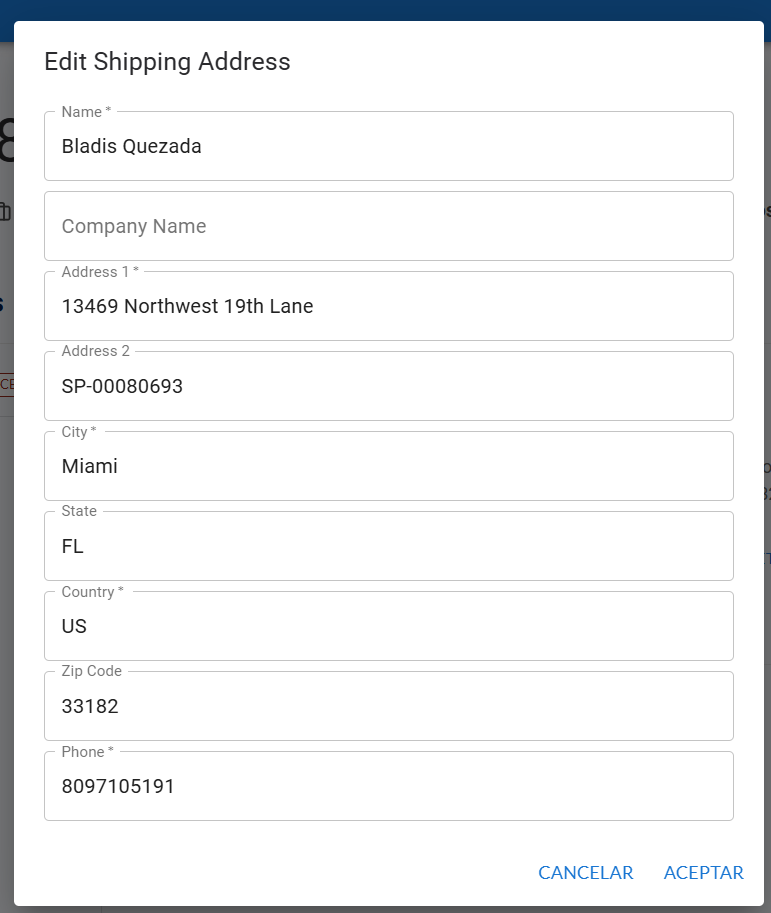
- Click ACCEPT to save changes or CANCEL to exit without saving.
Edit Billing Address
To modify the billing address:
- Click the three dots icon and select Edit billing address.
- A popup form will be displayed to update billing details.
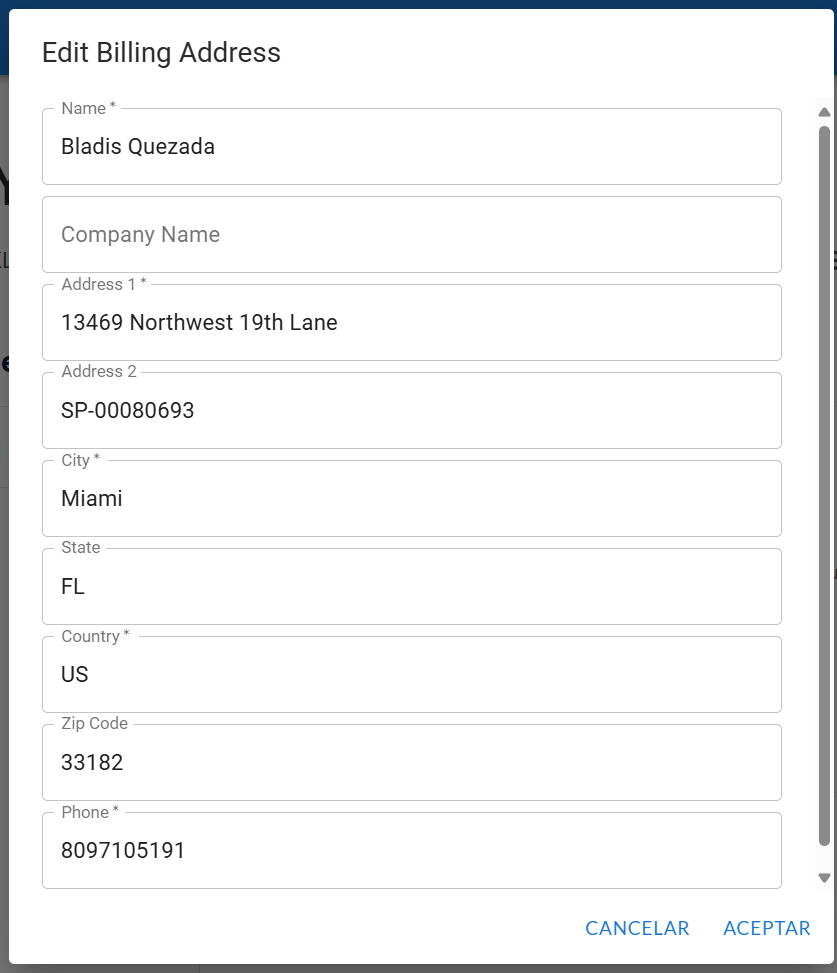
- Click ACCEPT to save changes or CANCEL to exit without saving.
Cancel Order
To cancel an order:
- Click the three dots icon and select Cancel order.
- A popup will ask you to enter a short reason for the cancellation.
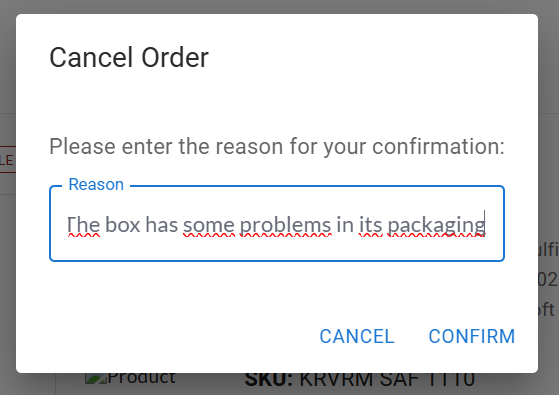
- Click CONFIRM to proceed with the cancellation.

Event Actions
Within the Fulfillment Events section of the order detail, several event-specific management options are available. These are found at the bottom right of each event and are accessible by clicking the three dots icon (⋮), as shown below:
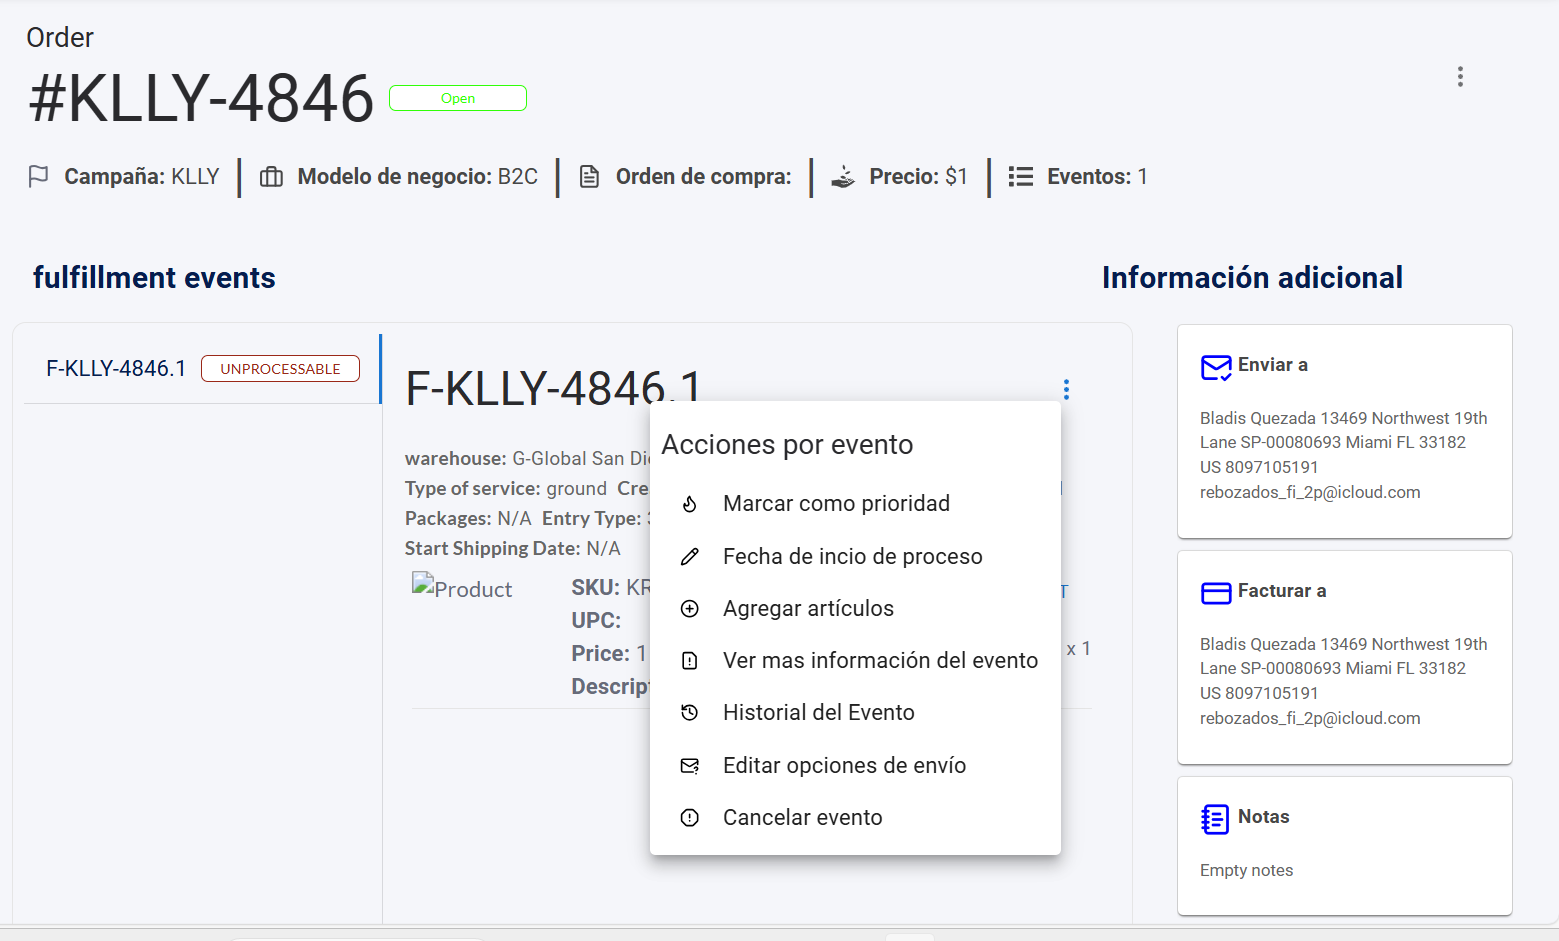
Available actions include:
-
Mark as Priority: Flags the event as a high priority to ensure it is processed as soon as possible.
-
Set Start Date: Allows you to set the date when the event should begin processing. A form will appear when clicked.
-
Add Items: Lets you add more items to the event. You will need to enter the item’s SKU and quantity in the form.
-
View Event Details: Displays detailed information about the event.
-
View Event History: Shows all recorded actions performed on the event, including timestamps and responsible users.
-
Edit Shipping Options: Allows changes to the shipping service, method of transport, and third-party billing assignment if applicable.