Receive Orders
This module allows the creation and management of receipt orders corresponding to packages sent by the client. Its main purpose is to register each merchandise reception into the WMS system, ensuring precise control over incoming products. Through this module, the entire process of packages entering the warehouse is managed—from physical reception to validation and system registration.
Create a Receipt
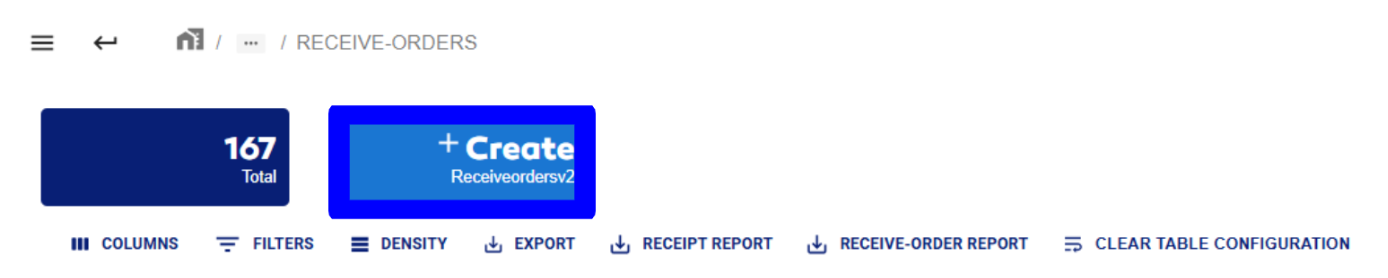
- Click on the Create option.
- A form will be displayed, requesting the following information:
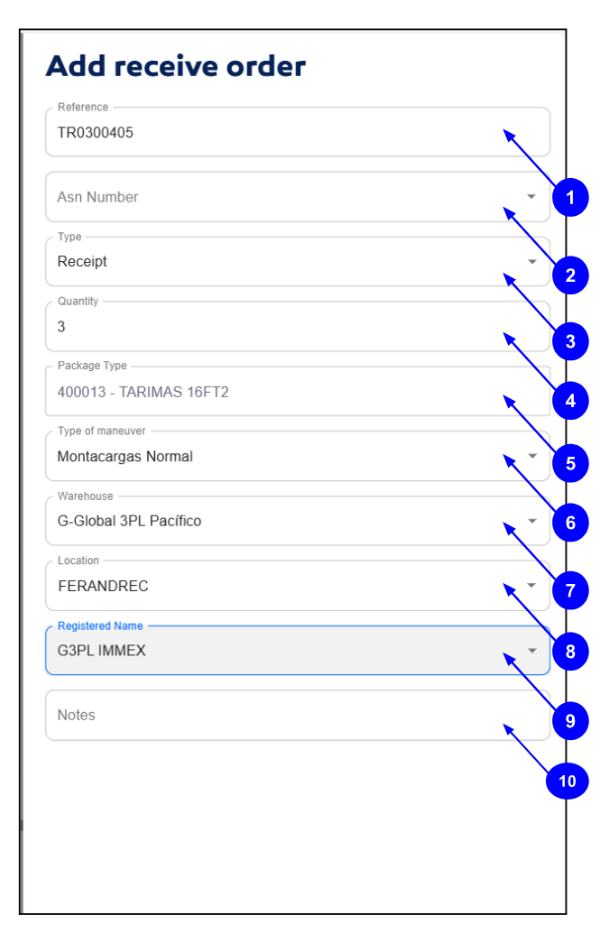
| Field No | Field Name | Field Description |
|---|---|---|
| 1 | Reference | Receipt reference number, obtained from the email. |
| 2 | ASN Number | ASN (Advanced Shipping Notice). |
| 3 | Type | Refers to the type of receipt to be processed. |
| 4 | Quantity | Number of packages to be processed in the receipt. |
| 5 | Package Type | Type of package used for the receipt process. |
| 6 | Type of Maneuver | Indicates how the packages will be moved to a location. |
| 7 | Warehouse | The warehouse where the packages are being received. |
| 8 | Location | The physical place where the package will be stored. |
| 9 | Registered Names | Select the format or responsible person issuing the order. |
| 10 | Notes | Any specific notes related to the receipt. |
- Click SAVE to generate the receipt order.

- If the process is successful, a green message will appear showing the receipt number assigned to this virtual receipt.

When the receipt order is created, its default status is Created, meaning the process is not yet completed because the packages haven't been validated through entry and verification. For example:
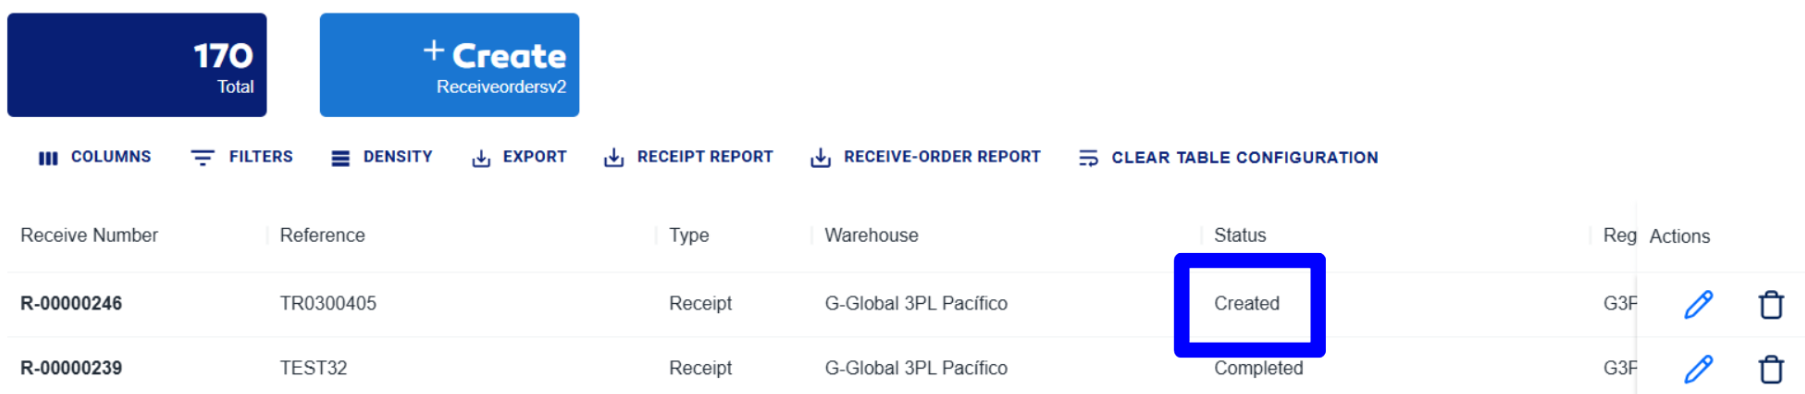
To complete the process, you must first generate the PPL. Then, scan the PPLs in the Receive Orders Picking module to validate the received packages. Once these steps are completed, the receipt order status will change from Created to Completed, concluding the process.
Update or Delete a Receipt
- To update receipt information, click the edit icon.

- A form will appear showing the editable fields. In this case, only the Location can be modified.
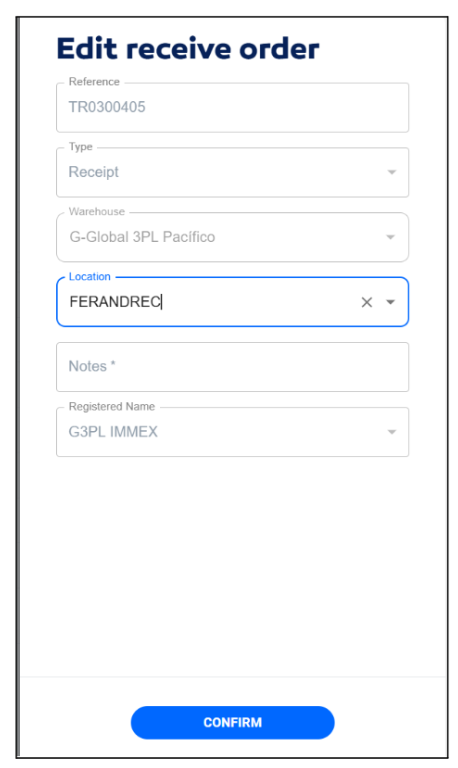
Once you complete the process, the system will update the modified fields in the receipt.
- To delete a receipt, click the delete icon for the receipt you wish to remove.
- A confirmation message will appear. Click OK to continue.
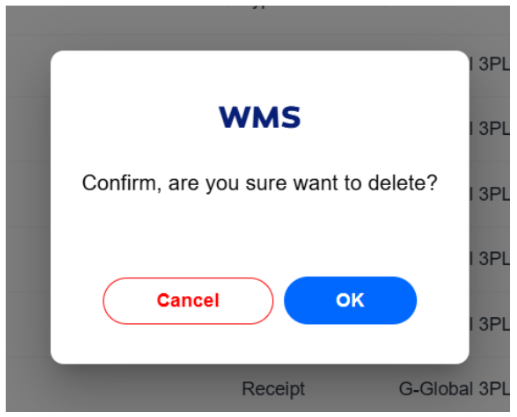
If the receipt already has some PPLs, the system will not allow deletion. Instead, it will display a red error message indicating that the record cannot be removed.
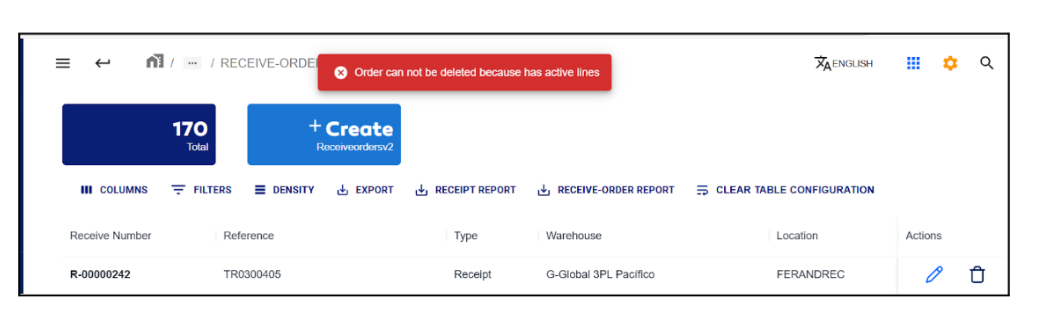
Generate PPL
- To generate PPL, double-click on the receipt.

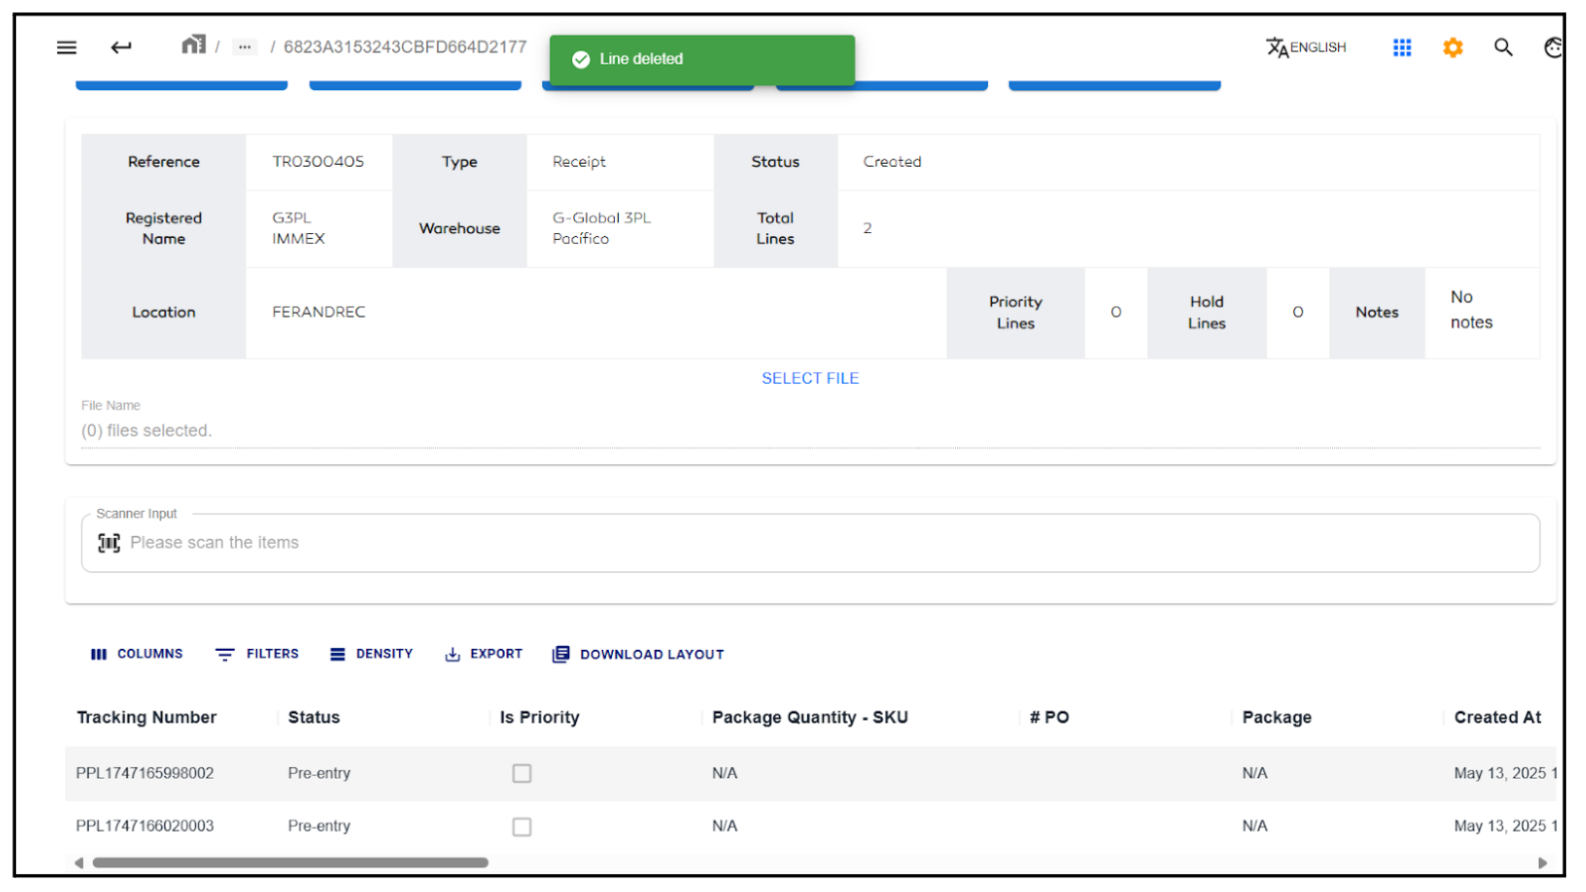
- The system will redirect to a detailed view showing a PPL table and related options.
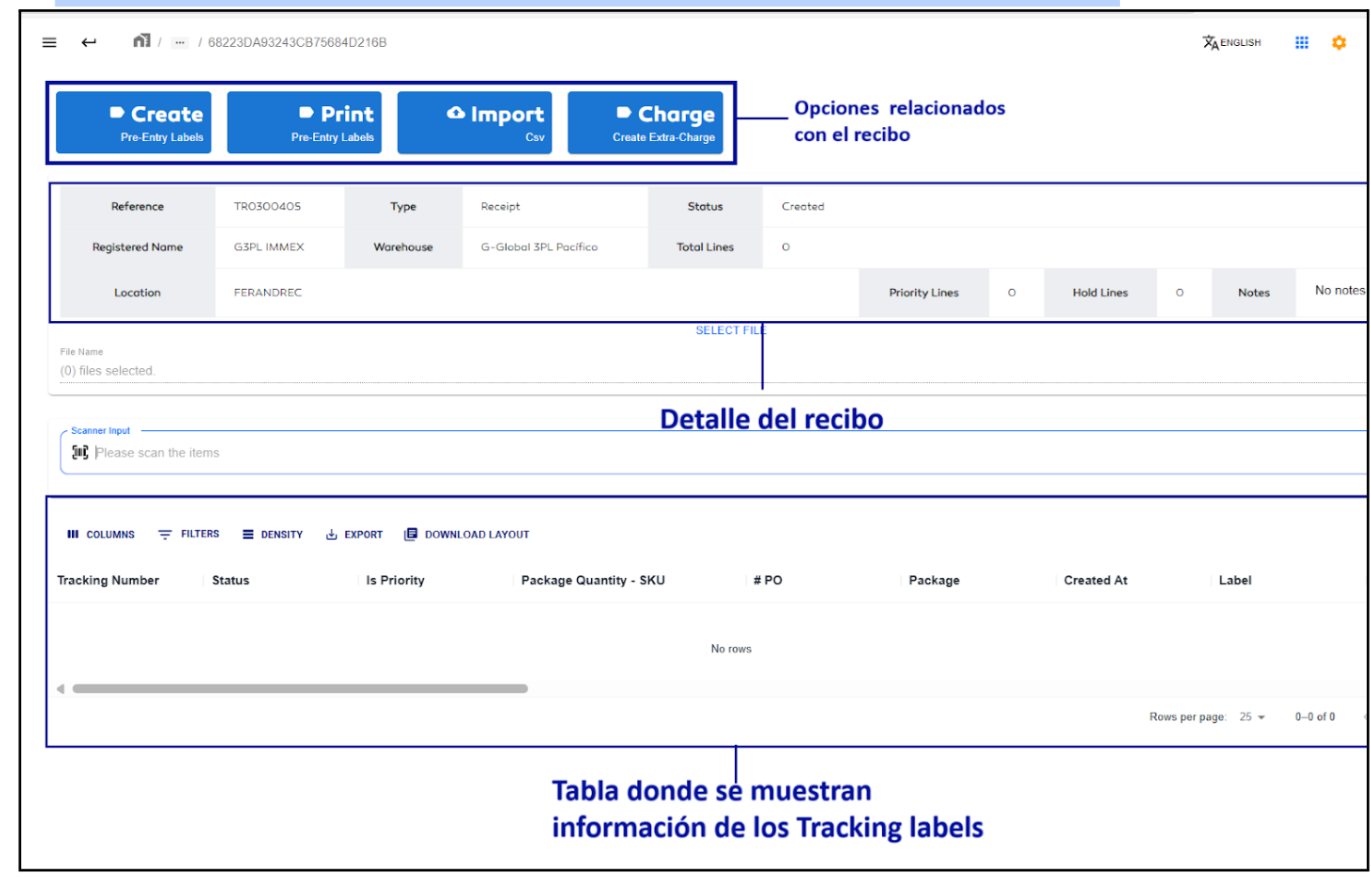
- To generate PPLs, click on CREATE pre entry labels.

- A popup will appear requesting the number of PPLs to generate. Fill in the field with the desired amount.
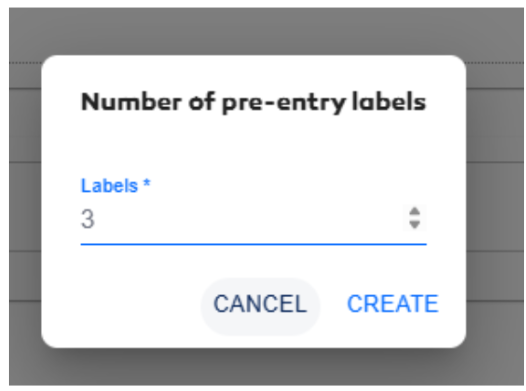
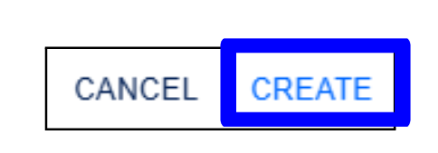
- Click CREATE to proceed.
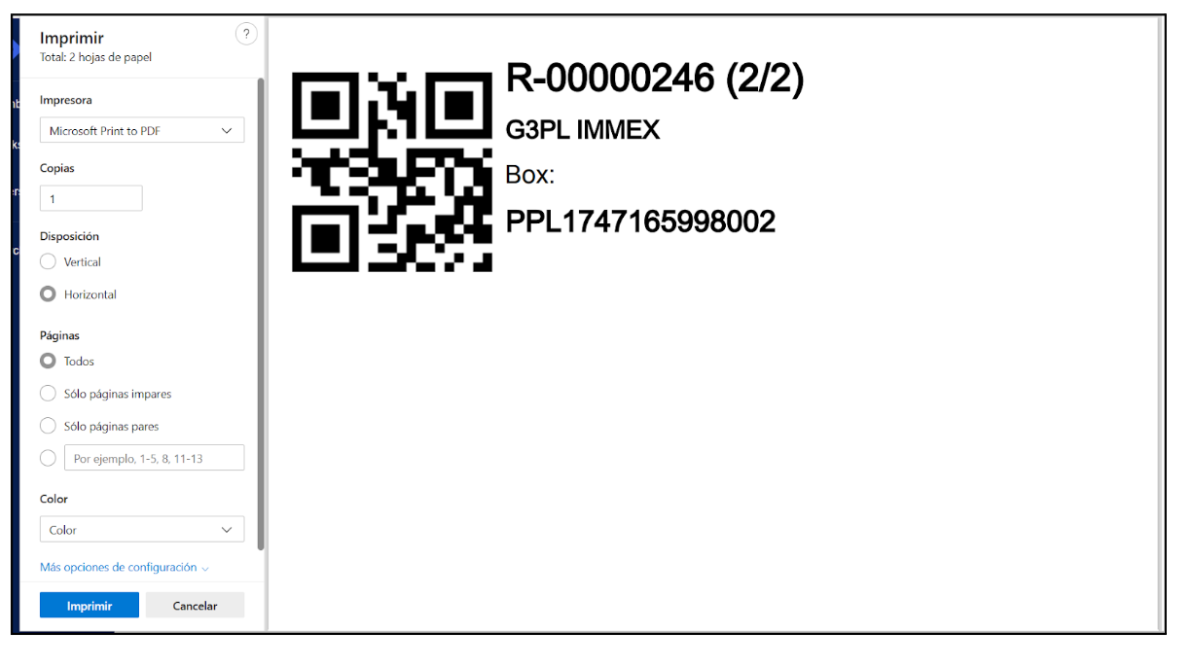
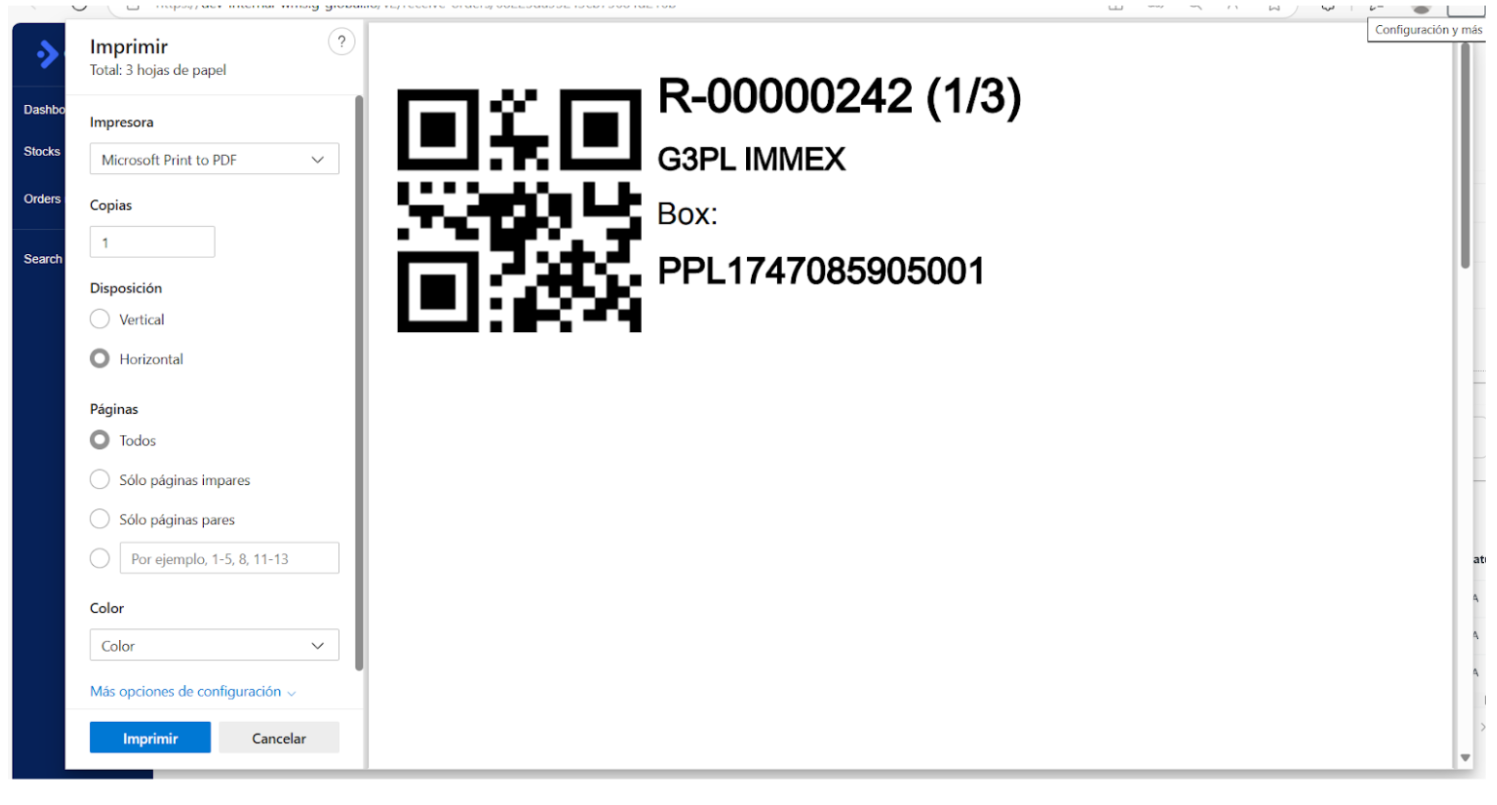
- A print window will open for printing the PPLs.
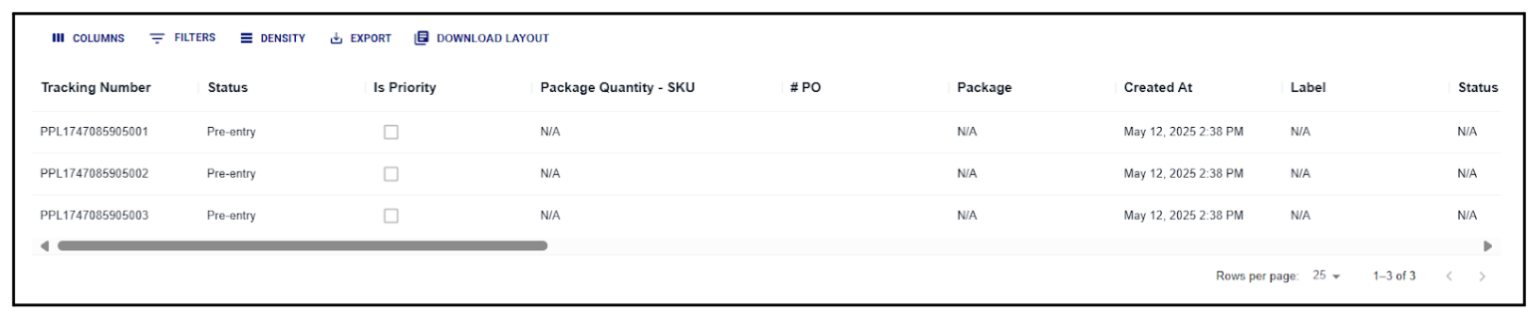
- Then, the PPLs will be shown in the table at the bottom of the receipt details view.
Delete a PPL
- To delete a PPL, click the Edit option in the Actions column of the table.

- The table will update, and a green message will confirm the process was successful.
Print PPL Labels
- To reprint PPL labels, click on Print pre entry labels at the top section of the receipt details.
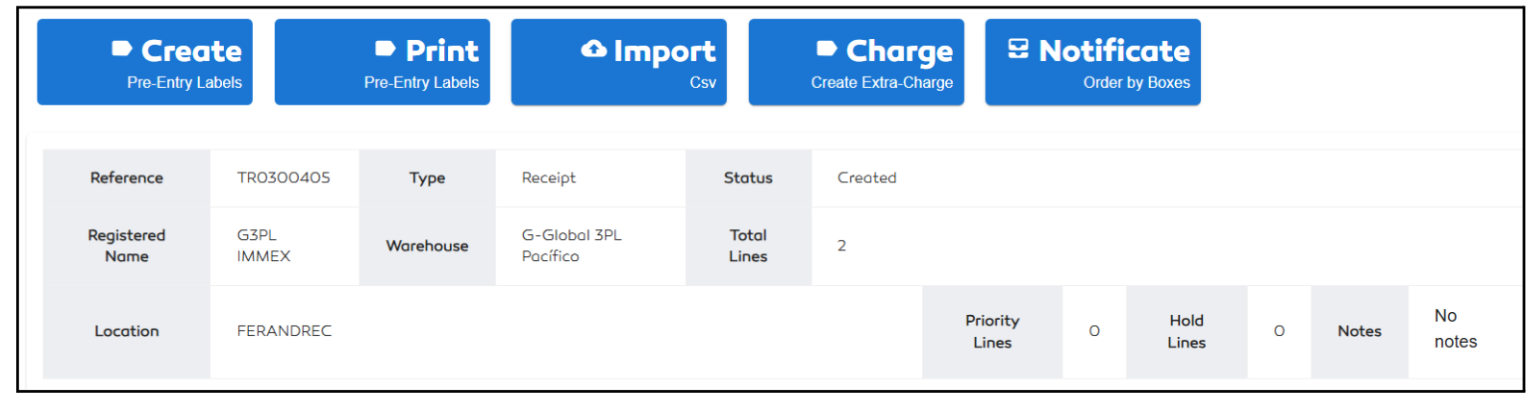
- A print window will open in your browser for printing the PPL labels.