Bins
Create a Bin
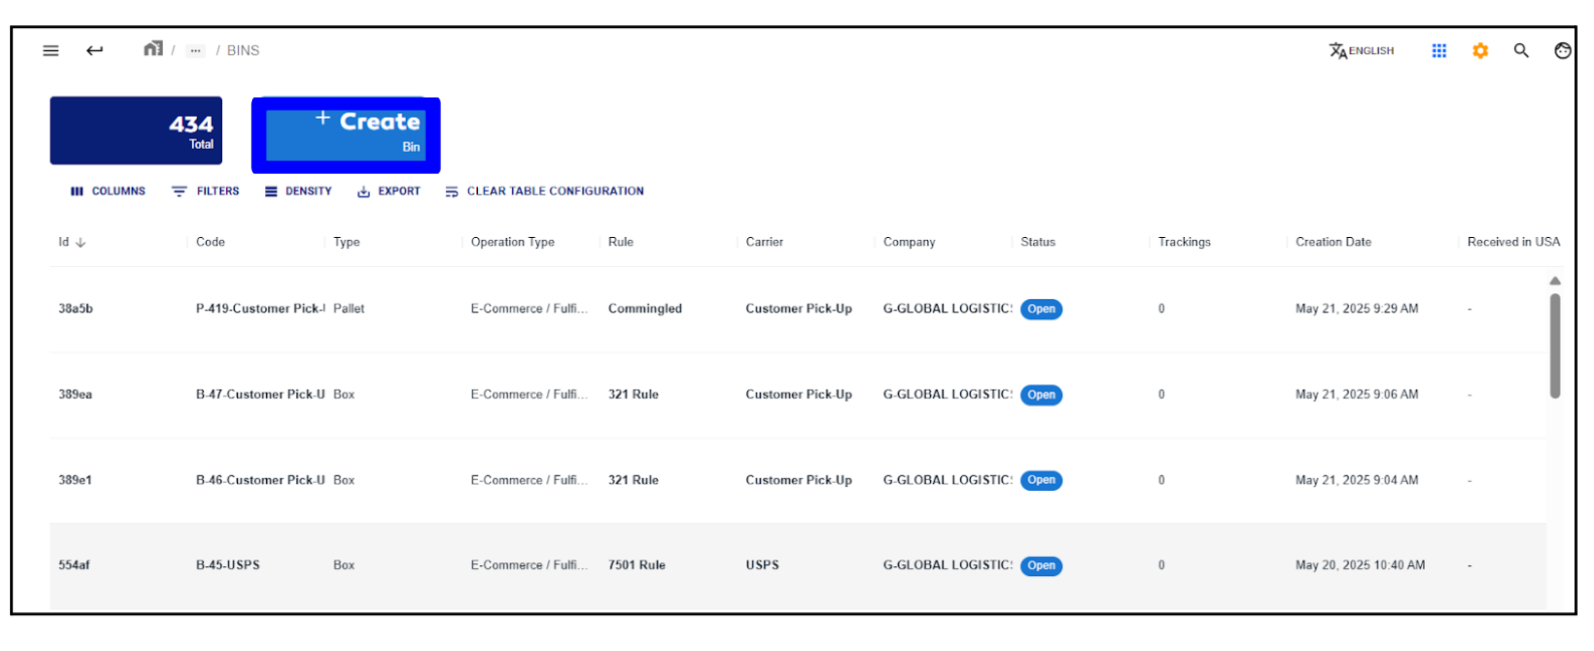
- Once you have accessed the Bins module, click on the Create Bin option to start the creation process.
- A form will be displayed where you must enter the following information:
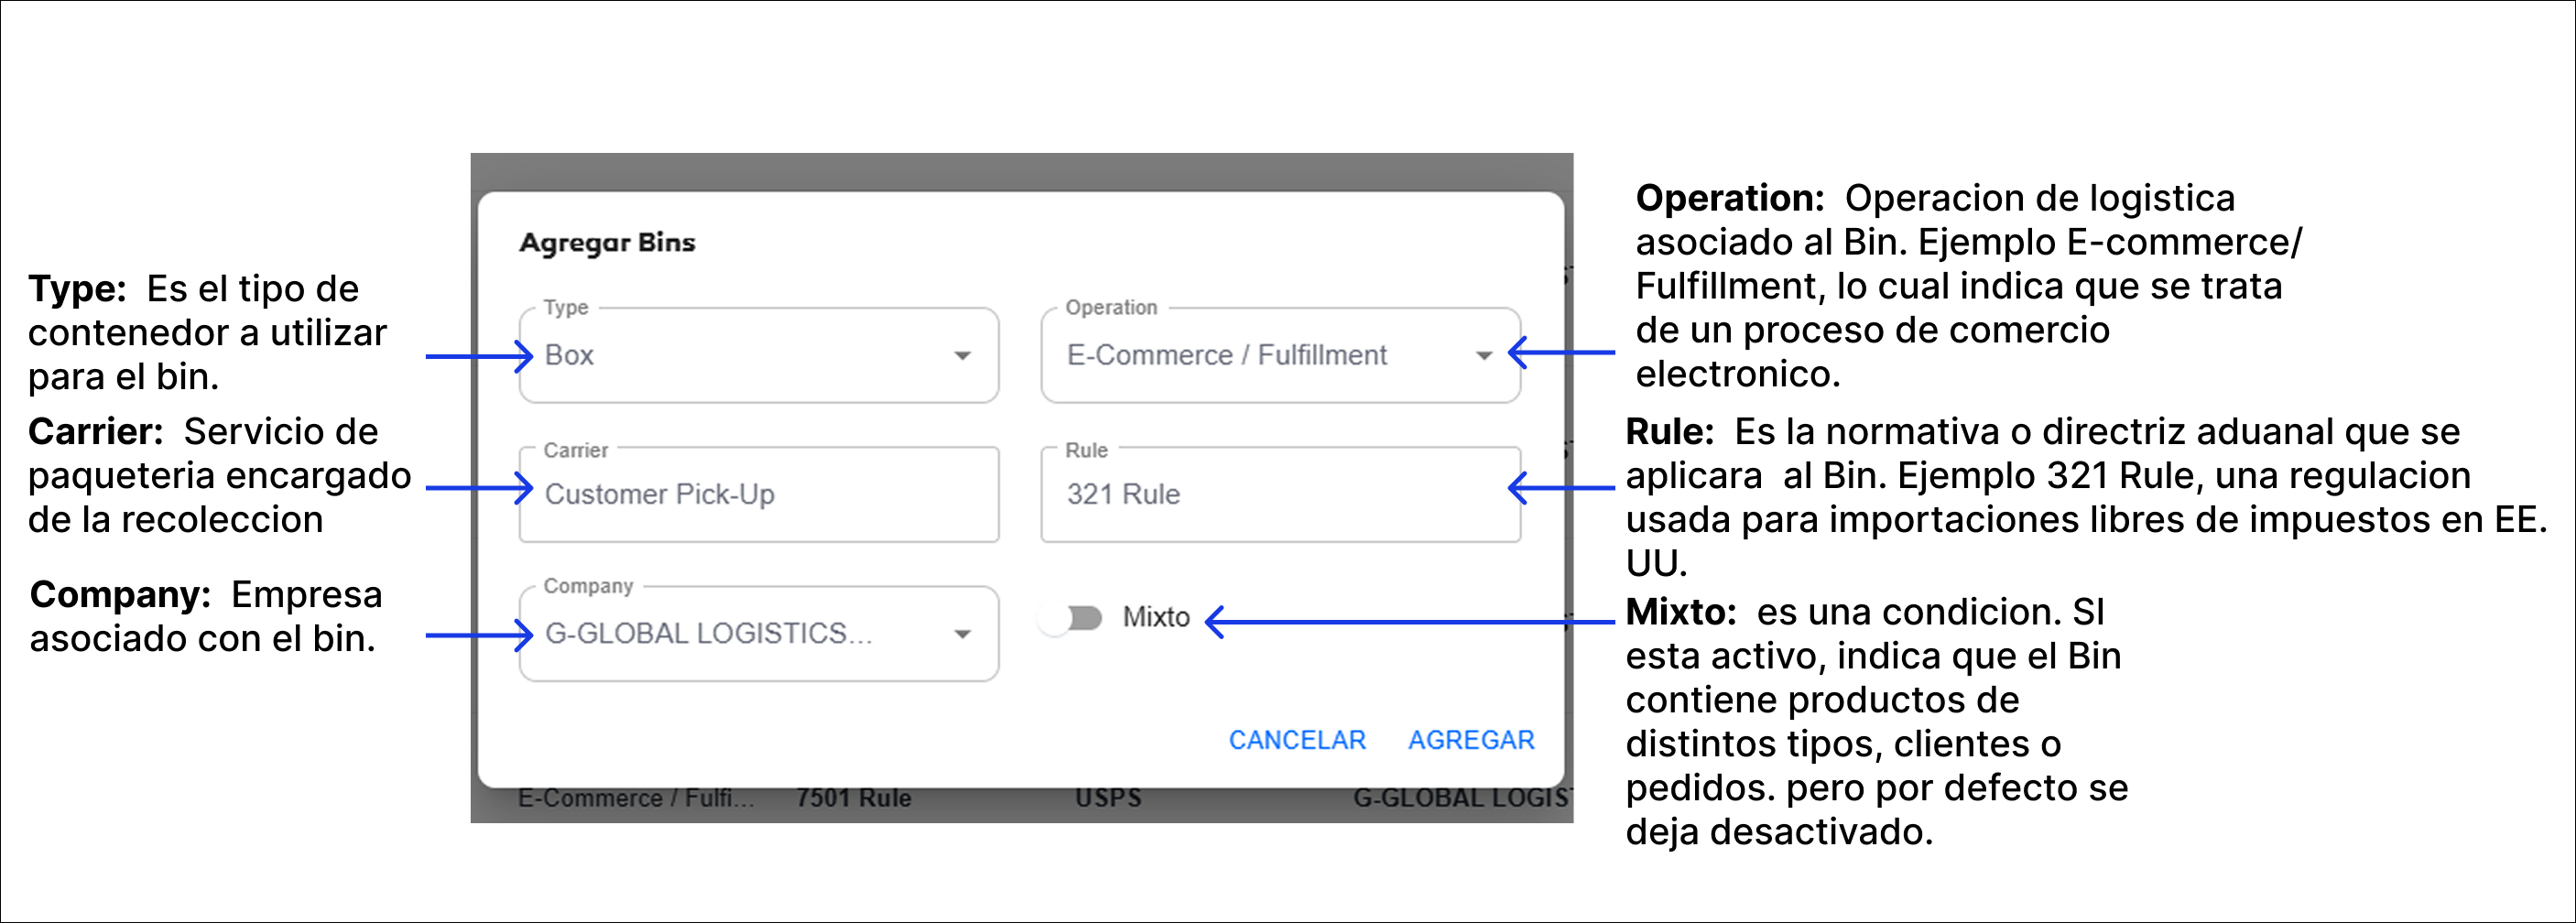
- After filling out the form, click the ADD button to proceed.

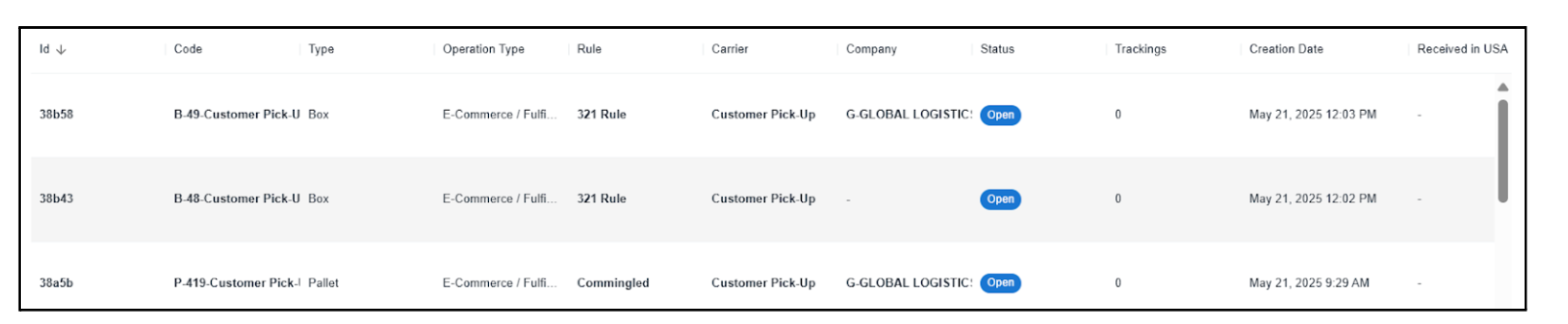
- The table will then update with the newly added Bin.
Scan Packages
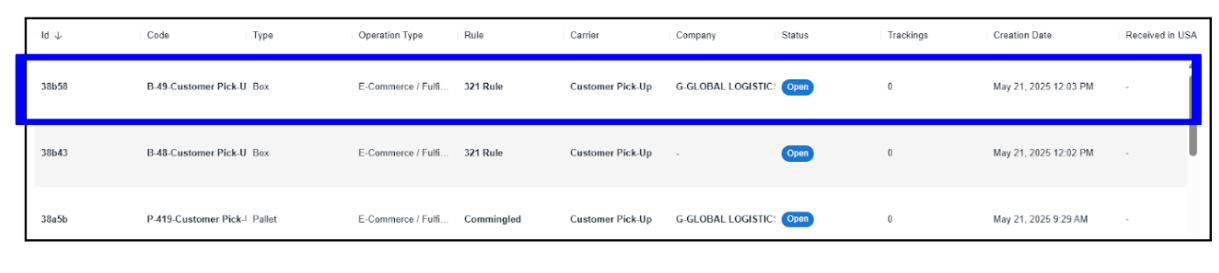
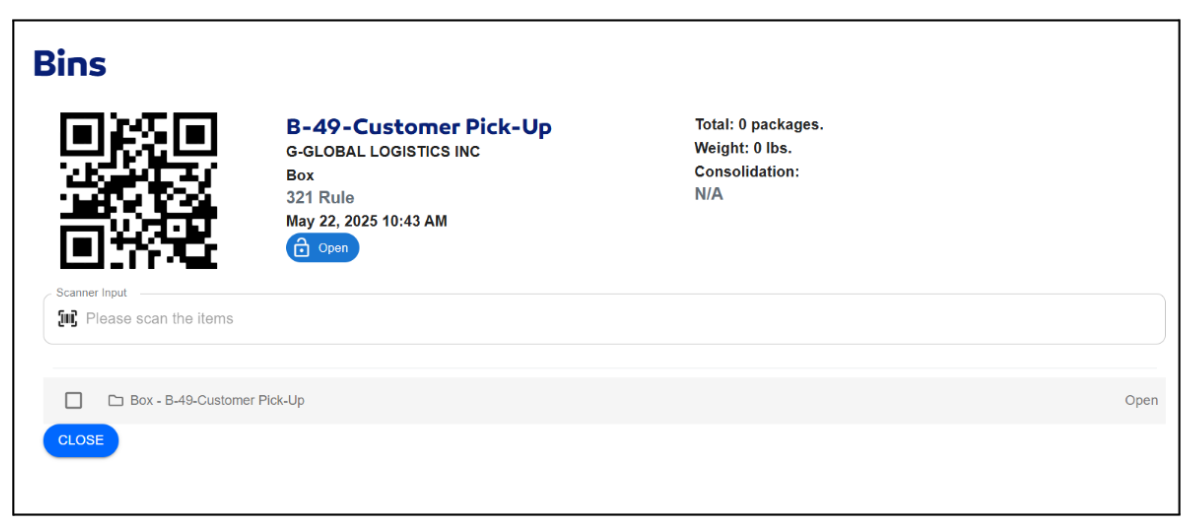
- Double-click the Bin that was previously created.
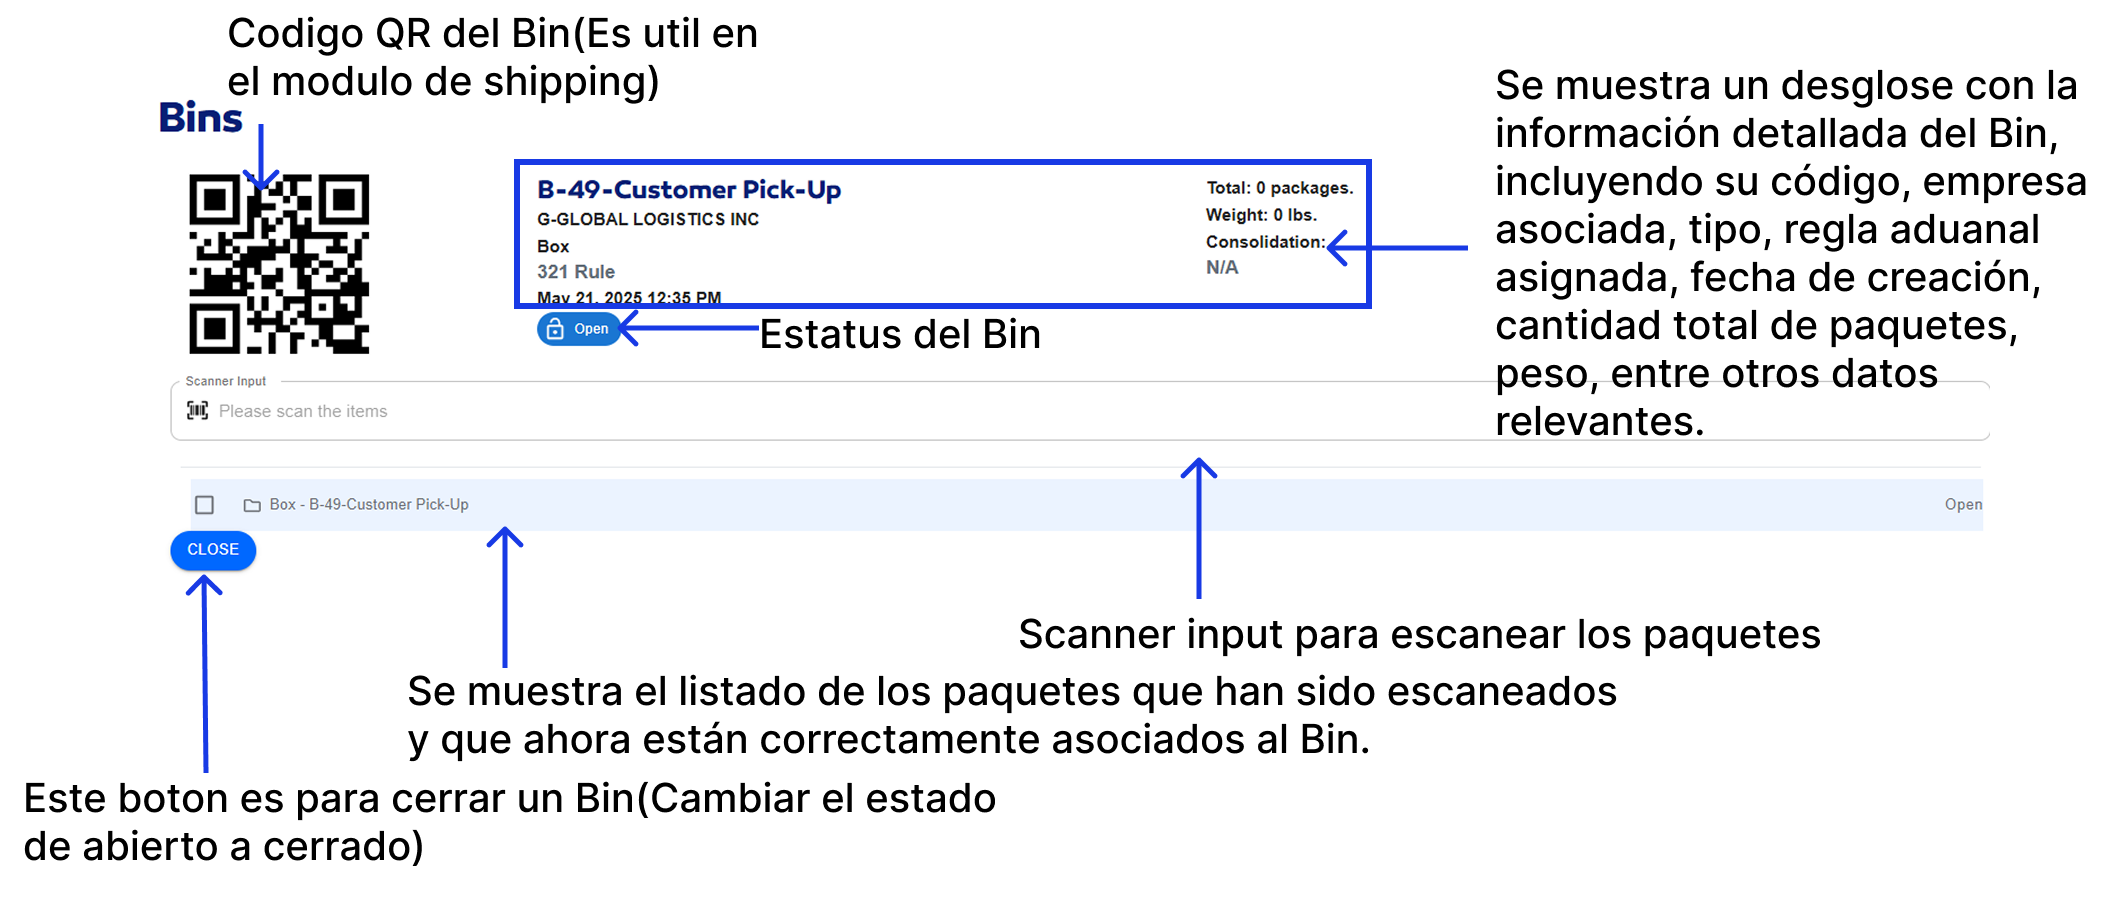
- The system will redirect to the Bin's detail view, as shown in the image below.
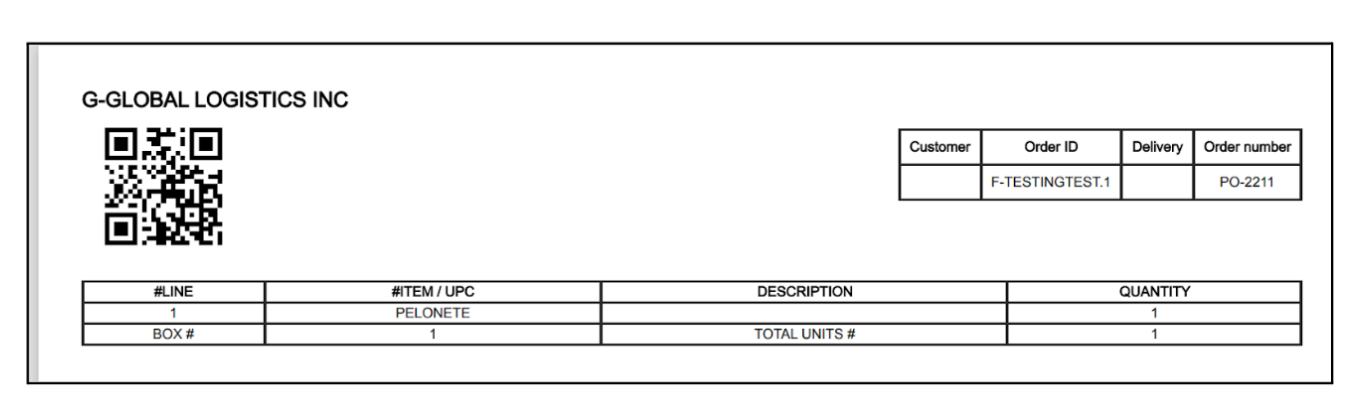
- Before scanning packages to associate them with the Bin, make sure they have a label. The QR code on this label should be scanned and follow the format below.
note
This label can be generated manually from the Orders Monitor module, or automatically during the packing process using SLAM.
- Each time a package is scanned, if the import rule matches between the Bin and the scanned package, a green message should appear confirming that the package has been successfully assigned to the Bin.
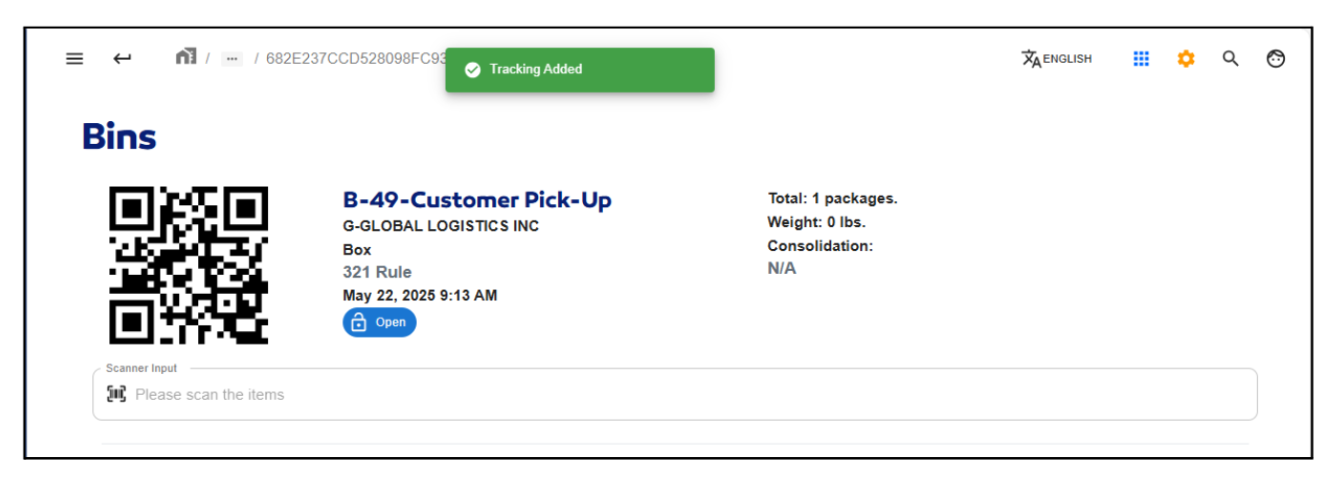
- The scanned package should then appear at the bottom of the view, displaying its tracking number and the date it was scanned.
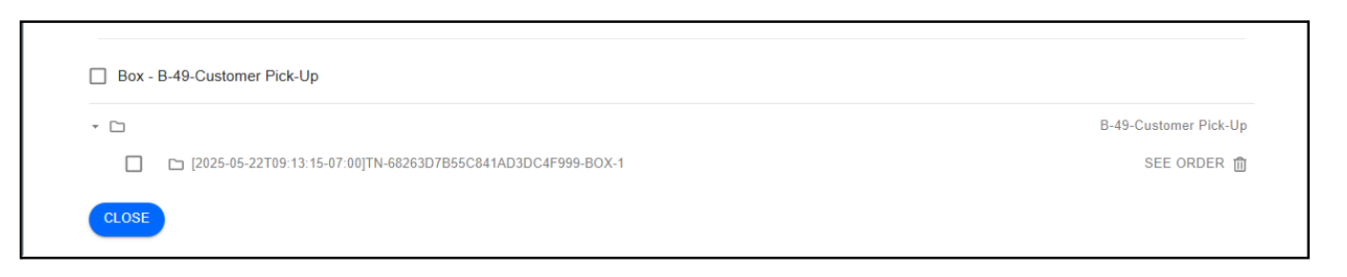
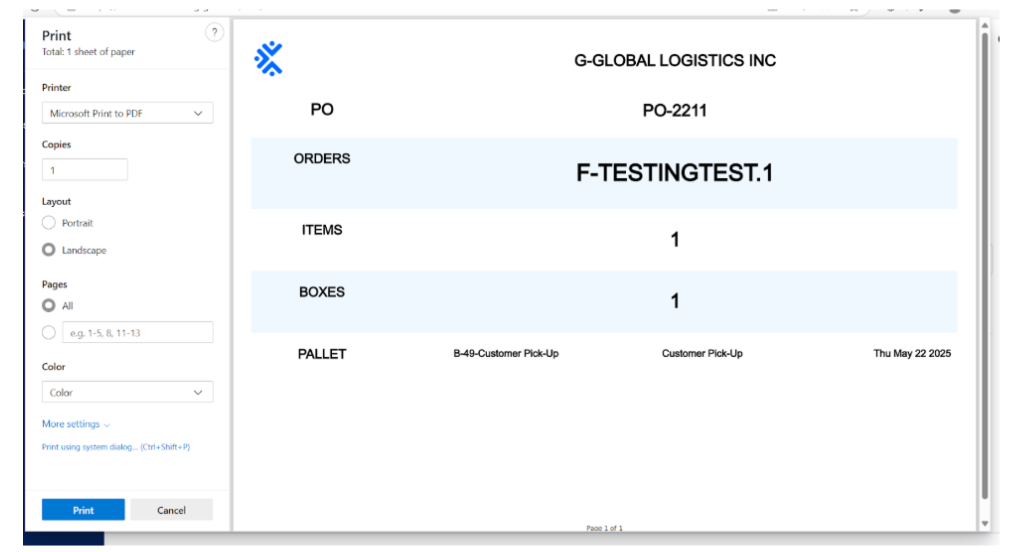
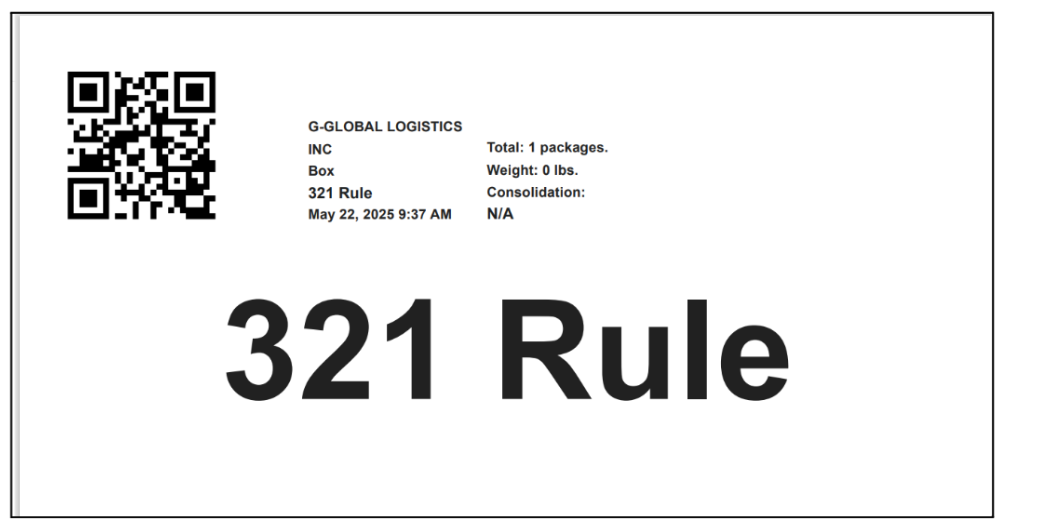
- Once you finish scanning packages, proceed to print the Bin's QR label using the PRINT QR LABEL option.

- Example of the Bin label that is generated:
View Details and Delete Scanned Packages
View Package Details
- Click on the SEE ORDER option to view package details.

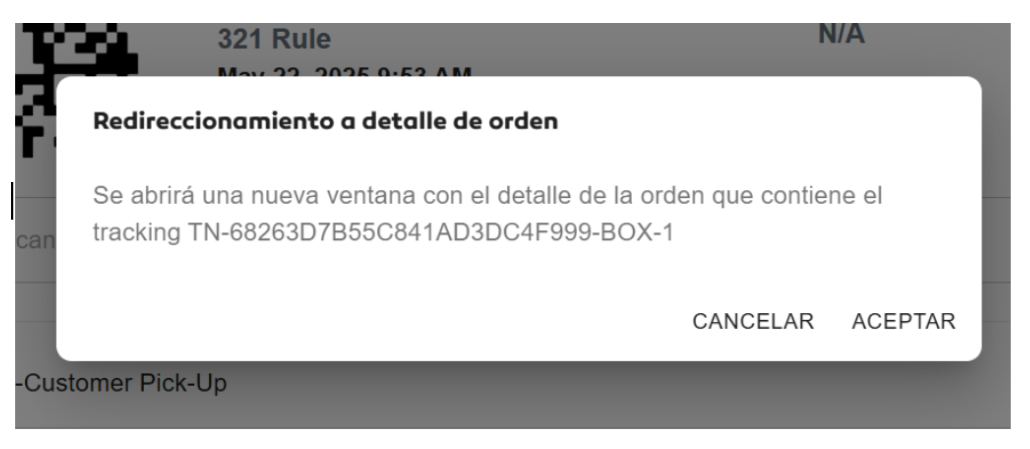
- A confirmation message will appear indicating the system will redirect to another page with the corresponding tracking number. Click Accept to continue.
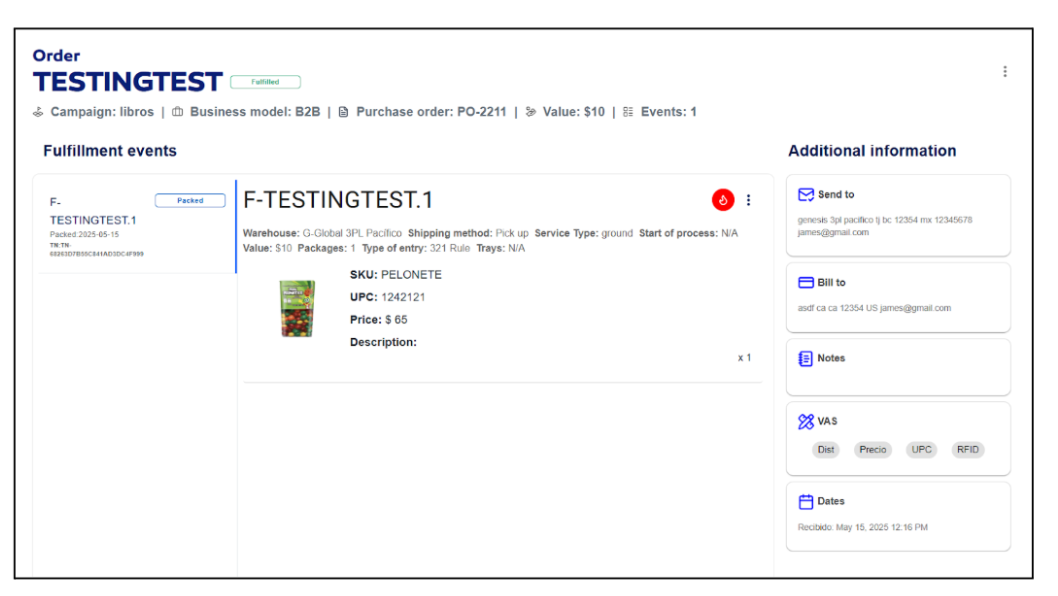
- Once redirected, you will see a detailed view of the package, including its fulfillment order information.
Delete a Scanned Package
- Click the delete option for the package you want to remove.

- A form will appear requesting a comment to explain why the package is being removed from the Bin.
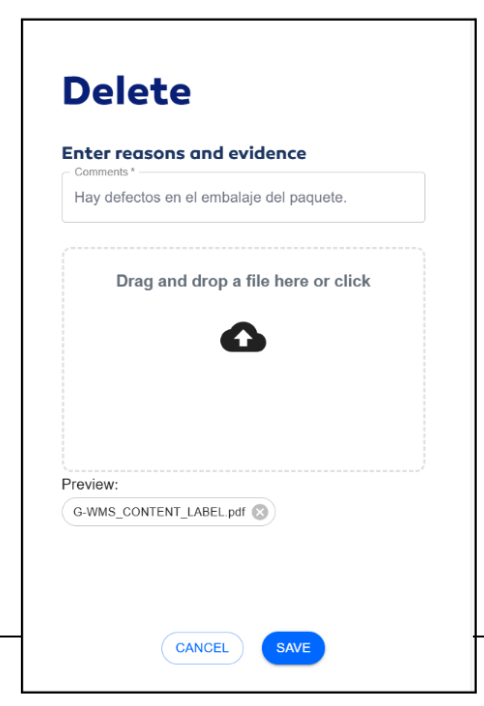
- Click SAVE to proceed with the removal.
- The package will be removed from the Bin.
Download CSV or PDF Reports of Packages
- After scanning the packages, several options become available, as shown below.
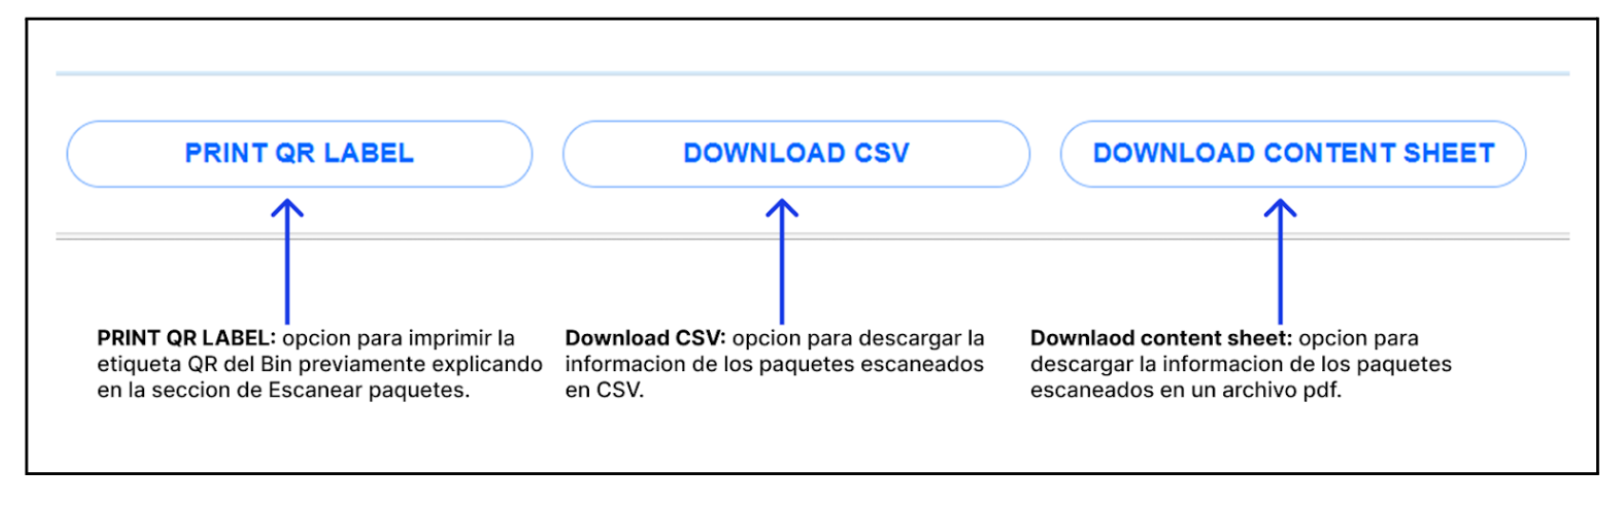
- Clicking DOWNLOAD CSV will display the data as shown in the image below.

- Clicking DOWNLOAD CONTENT SHEET will generate the following view.