Totes
This module handles the management of totes (trays) for each warehouse, detailing the necessary actions to register, update, delete, and view their information.
Totes are important in the WMS, where they are assigned to orders generated in the Order Monitor module, allowing the corresponding items to be located to fulfill those orders.
Generate a Tote
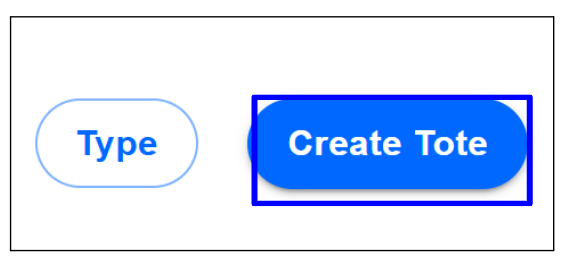
- Click on the CREATE TOTE option to start the process.
-
A form will appear requesting the following data:
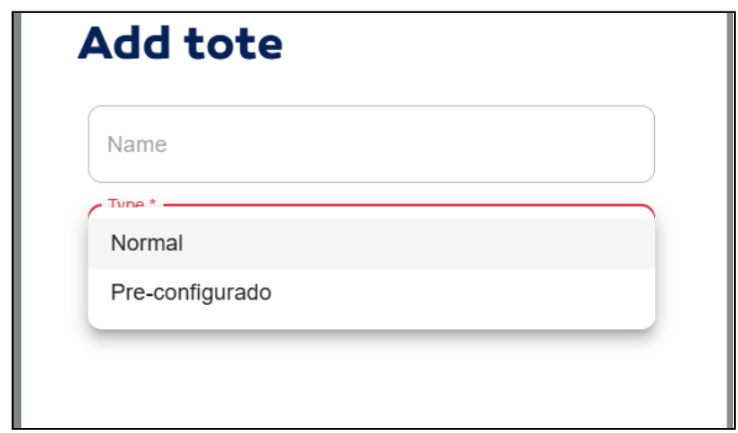
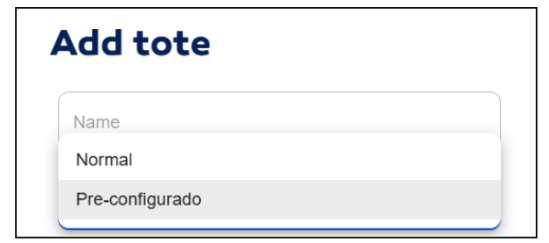
- Select the type of Tote, which can be normal or preconfigured. For this example, the normal option is selected.
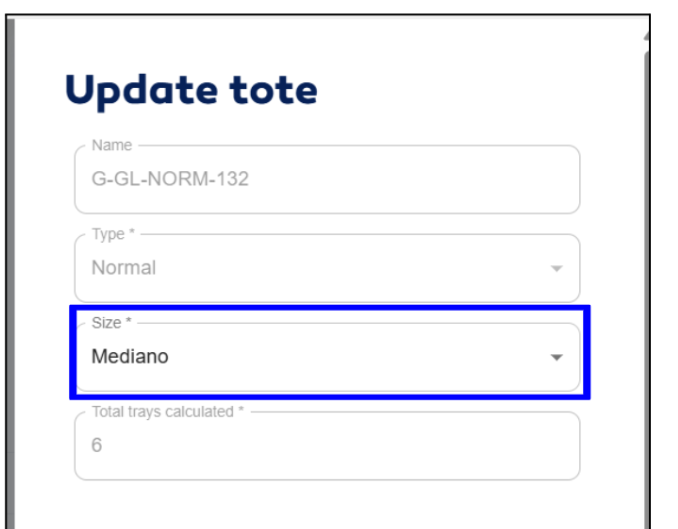
- Then, select the size of the Tote, which defines the number of Trays it can contain. In this example, the Medium size is selected. When choosing a size, the Total trays calculated field will automatically display the number of Trays corresponding to that configuration.
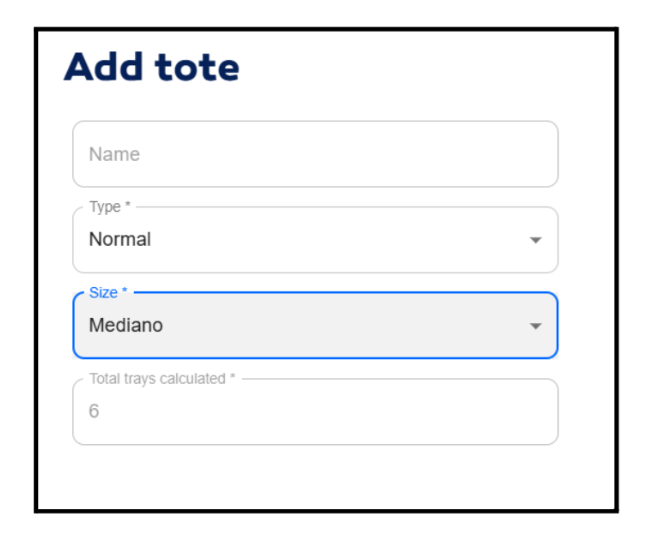
- The Name field should be left blank, as the system will assign one automatically. Now click on the SAVE option to generate the Tote.
-
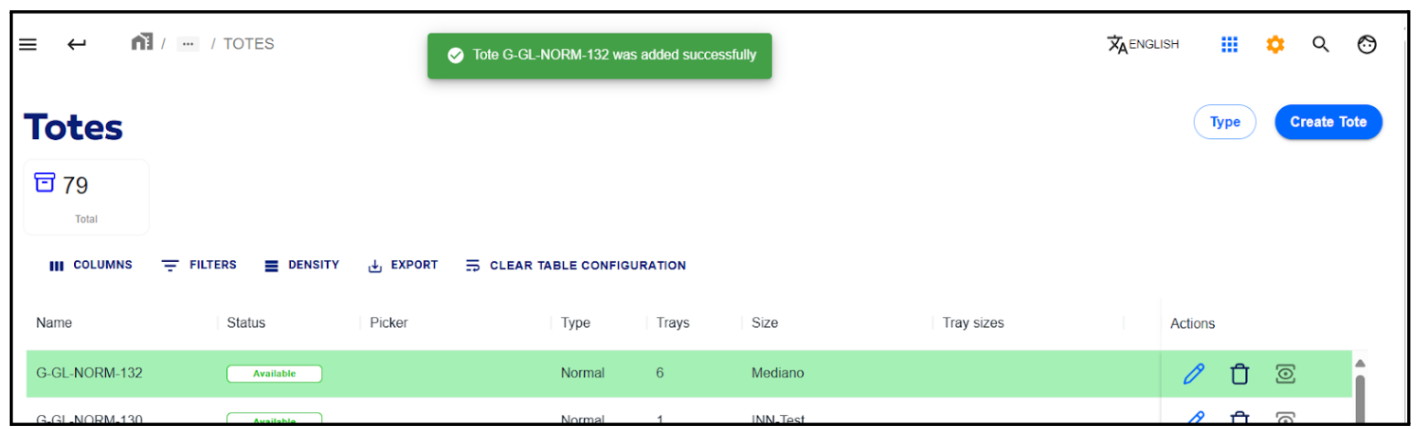
After saving, a green message will appear indicating that the process was successful. The new Tote record will also be highlighted in the table, along with the name assigned by the system.
If the Tote is selected as Preconfigured, it means you want to manually define its size configuration.
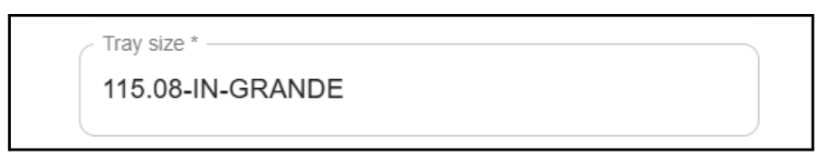
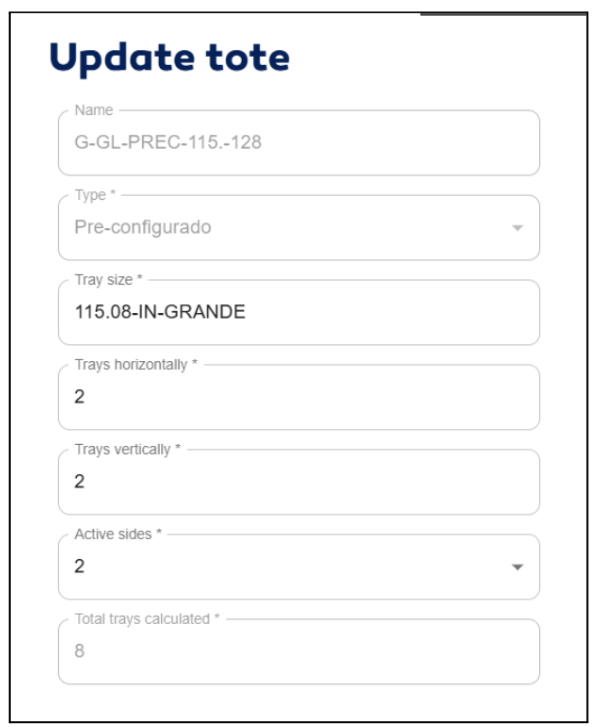
When doing so, several additional fields will appear. First, you must select the Tray Size, which should have been previously created in the Tray module, under the Create Size option. For this example, the 115.08-IN-LARGE size is selected.
Next, specify the number of Trays the Tote will contain horizontally and vertically.
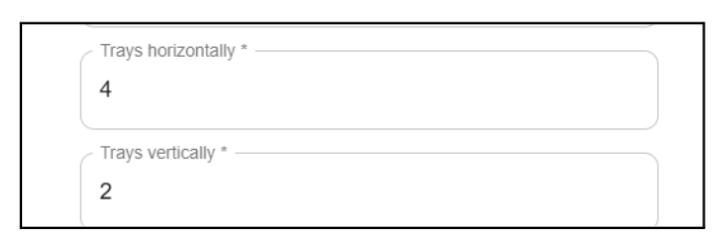
Based on these parameters, the Total trays calculated field will automatically display the total number of Trays the Tote will have according to the established configuration.

Edit a Tote
- Click on the edit option located in the Actions column of the Tote you want to delete.
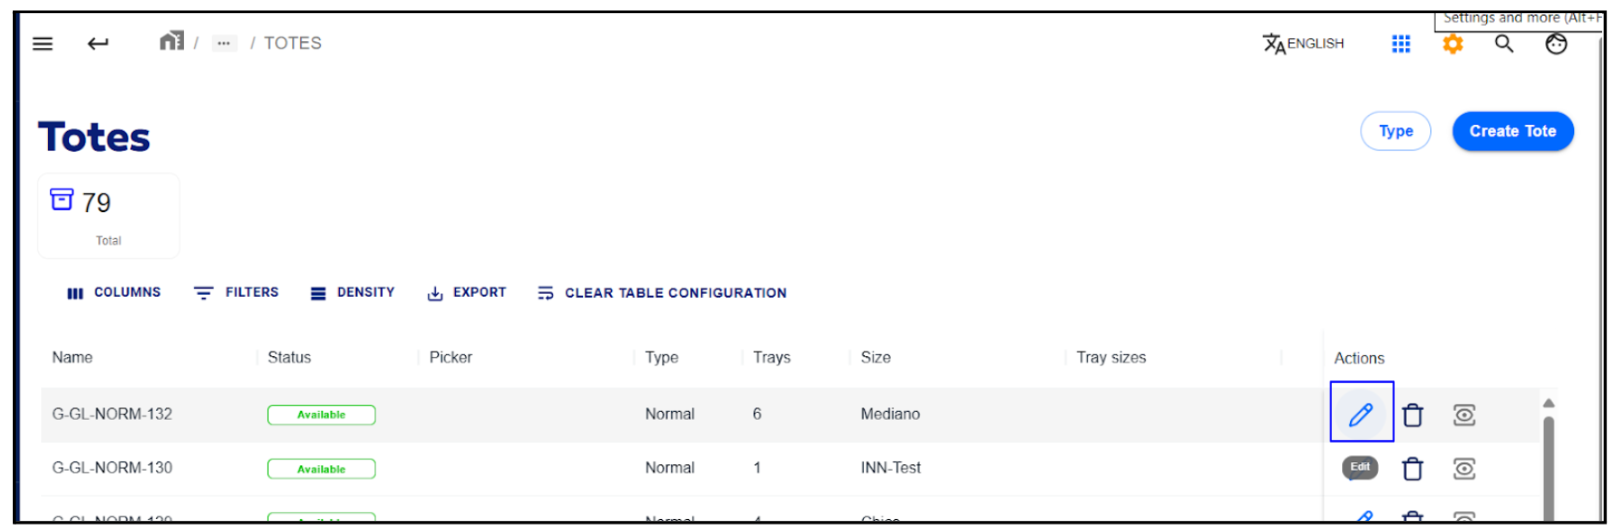
- A form will appear. If the Tote is of type normal, only the size can be updated.
- If it is of type Preconfigured, only the fields configured previously in the steps for generating a Tote can be modified.
- Click on the Edit option.
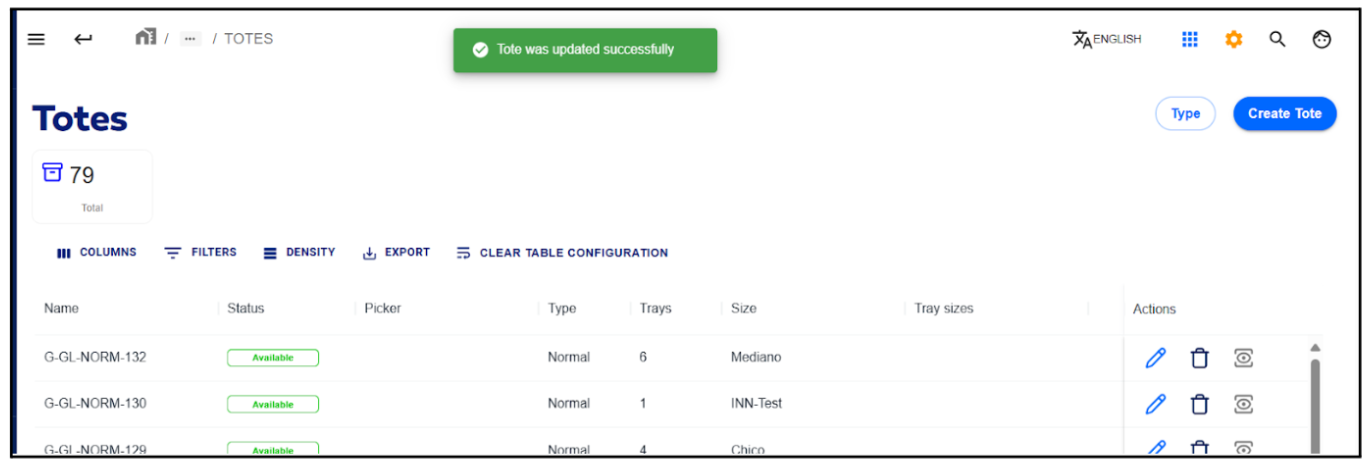
- A green message will appear, indicating that the process was successful.
Delete a Tote
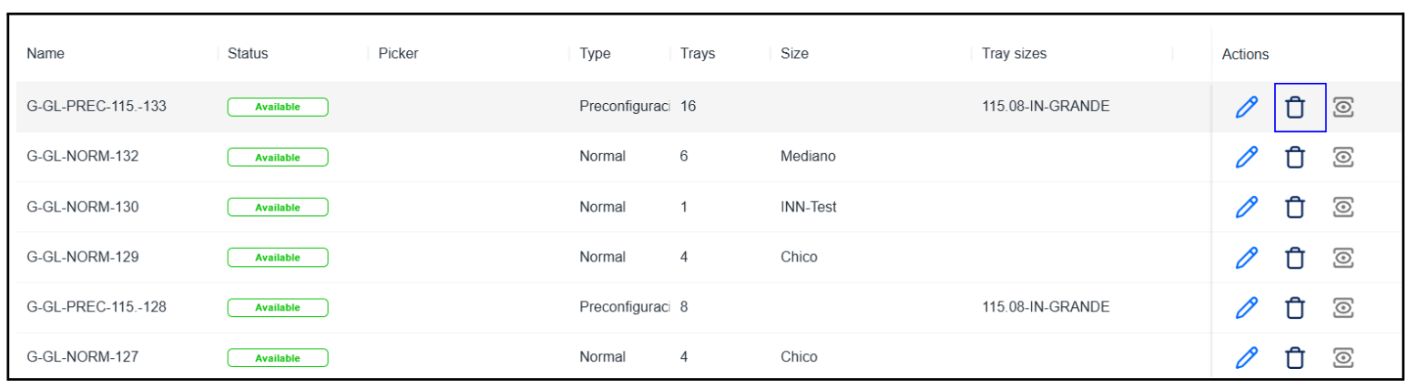
- Click on the delete option located in the Actions column of the Tote you want to delete.
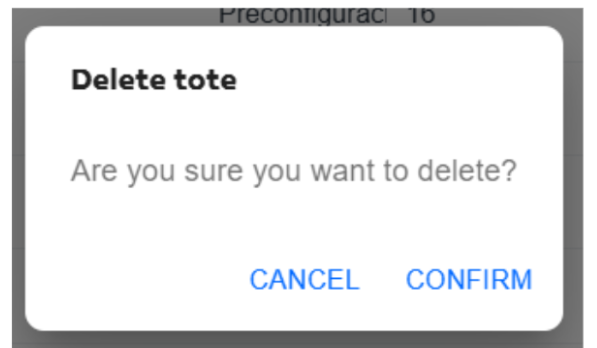
- The system will display a confirmation message to verify if you want to proceed with the process. Click on CONFIRM to confirm the deletion.
- Once confirmed, the table will update automatically, removing the selected Tote, and a green message will appear indicating that the deletion was successful.
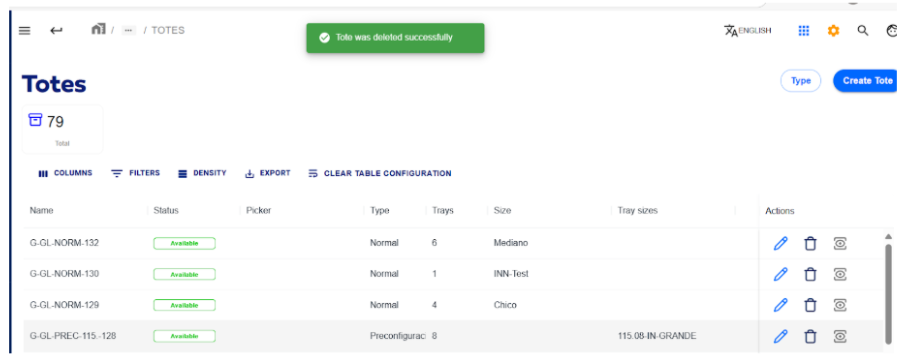
Tote Size Management
Create
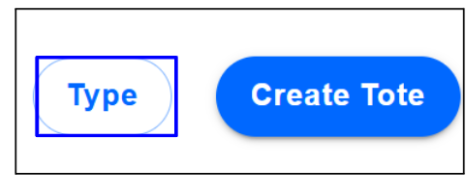
- Click on Type to generate a Tote size.
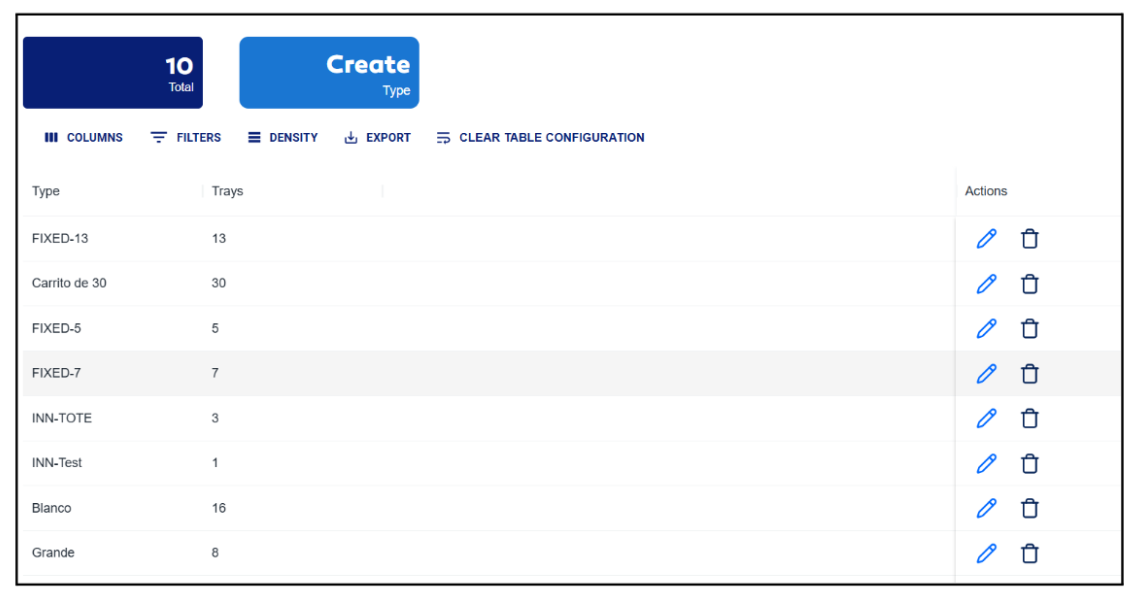
- A view will appear displaying a table of the sizes that have been created and an option to generate sizes.
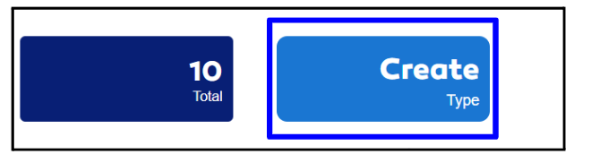
- Click on the Create Type option to generate the size.
- A form will appear requesting the following fields: Type (Name to identify the size) and Trays (the number of Trays for the Tote).
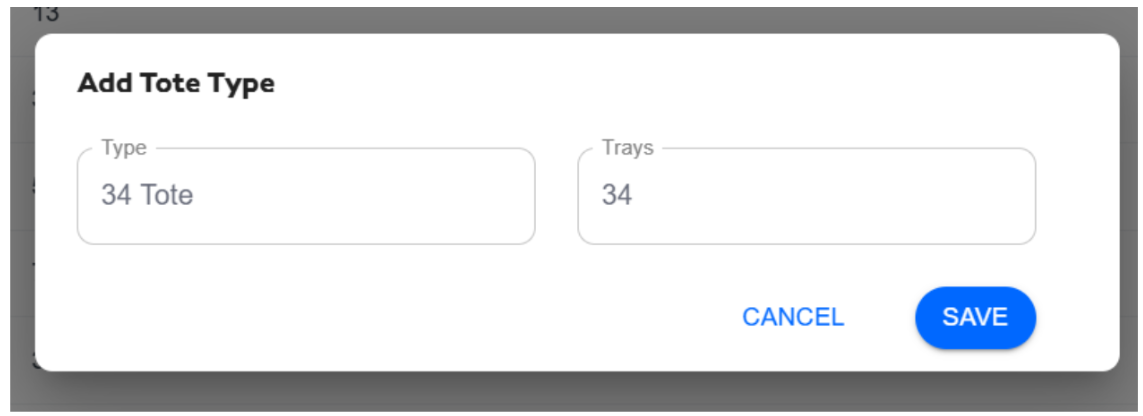
- Then click on the SAVE option to save the changes.

Edit
- Click on the edit option in the Actions column of the previously created size.
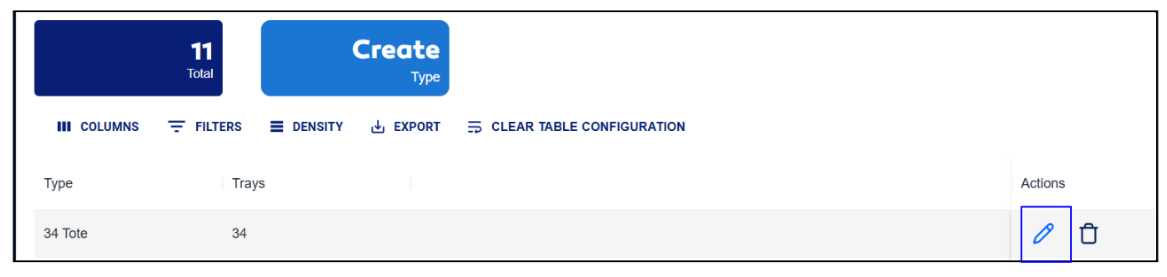
- A form will appear with the information to be updated.
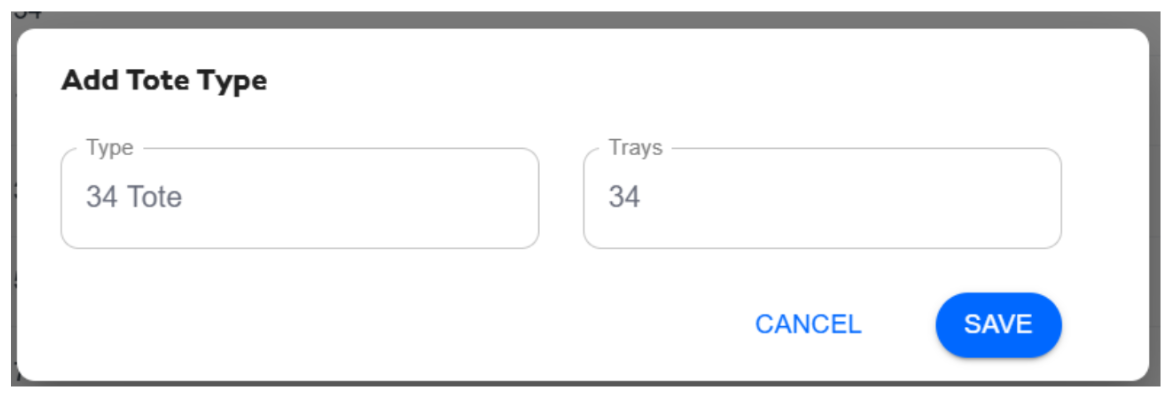
- Then click on Save to save the changes.

Delete
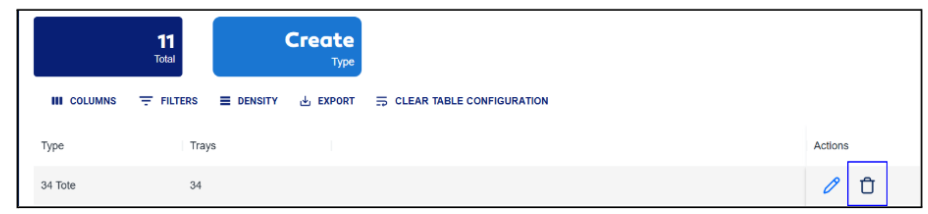
- Click on the delete option in the Actions column of the record to be deleted.
Print QR Code
- Click on the View option located in the Actions column of the previously created or existing Tote.

- A modal will open showing the Tote's name along with its QR code.
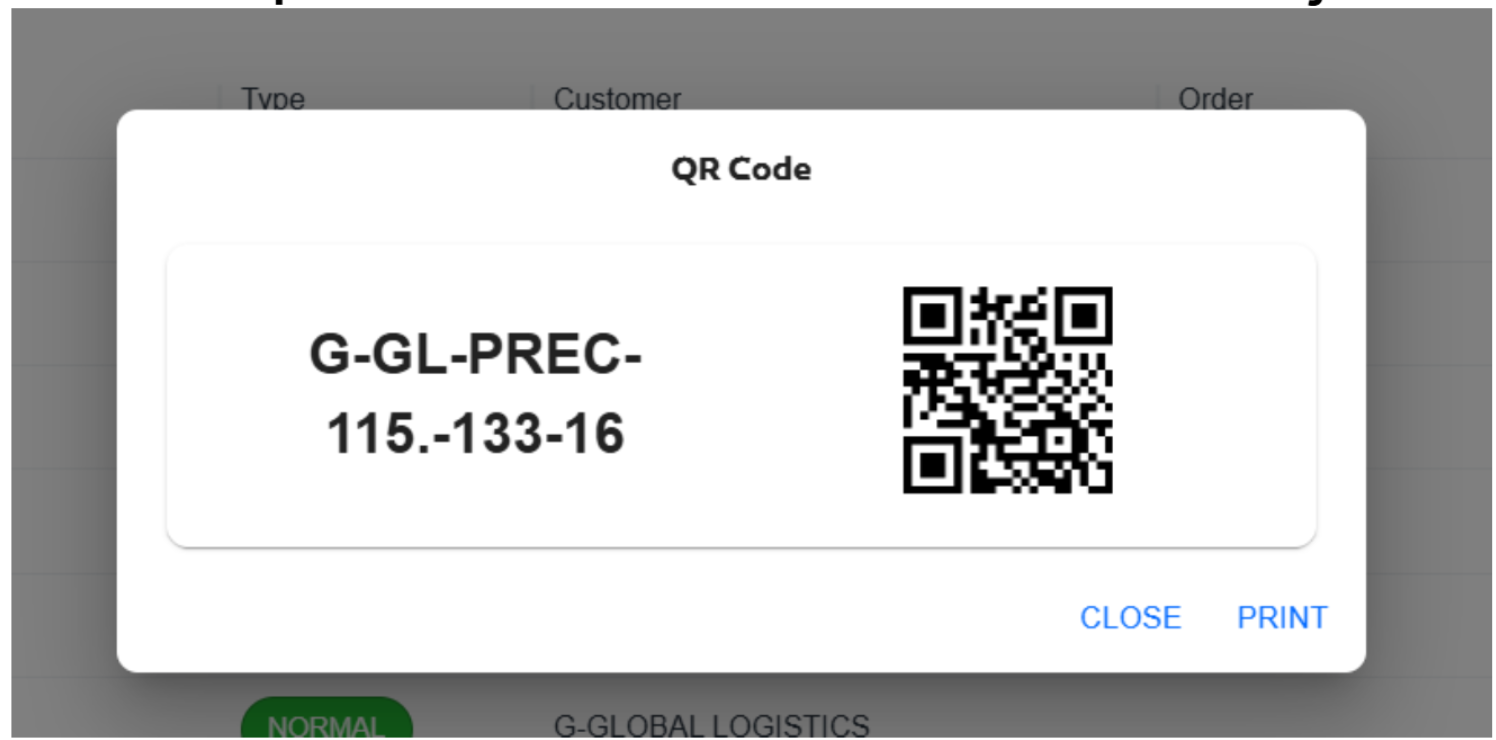
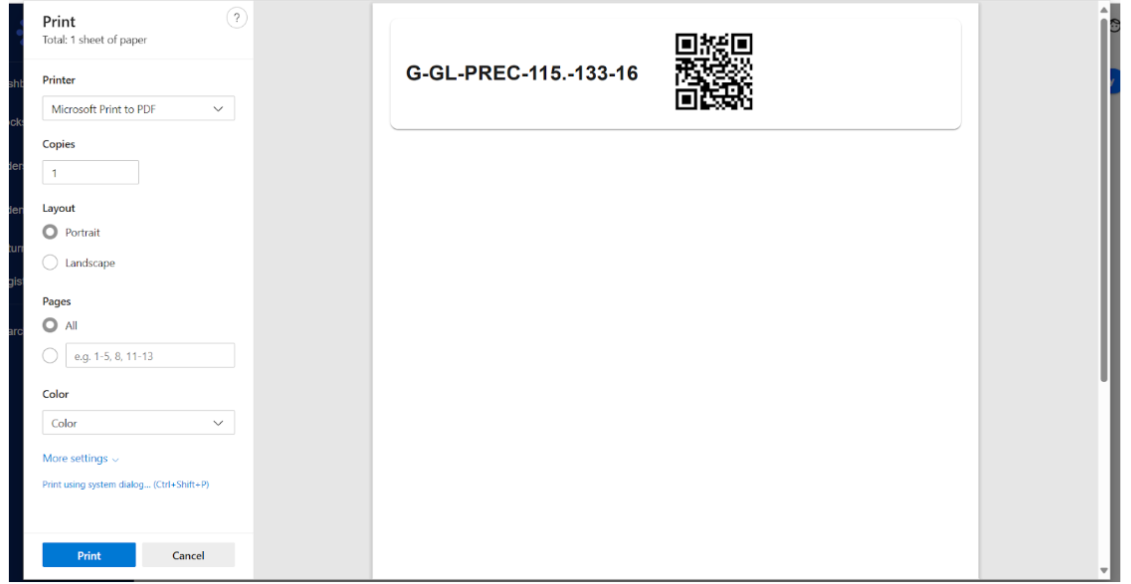
- To print this information, click on the PRINT option. The system will open a new browser window from which you can print the Tote's QR code.