Trays
This module manages the administration of trays, which are fundamental in the system as they are responsible for storing assigned items required to fulfill orders generated in the Order Monitor module of each warehouse. Here we describe the necessary steps to register, update, and delete trays, as well as generate sizes that provide greater detail about them.
Generate a Tray
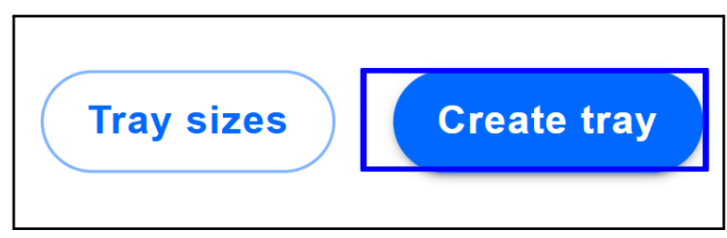
- Click on the following marked option to begin the tray generation process.
- A form will appear requesting information for the following fields: Type, indicating the type of tray (in this case, a normal tray), and Warehouse, specifying the warehouse to which the tray will be assigned (in this case, G-Global 3PL Pacífico warehouse).
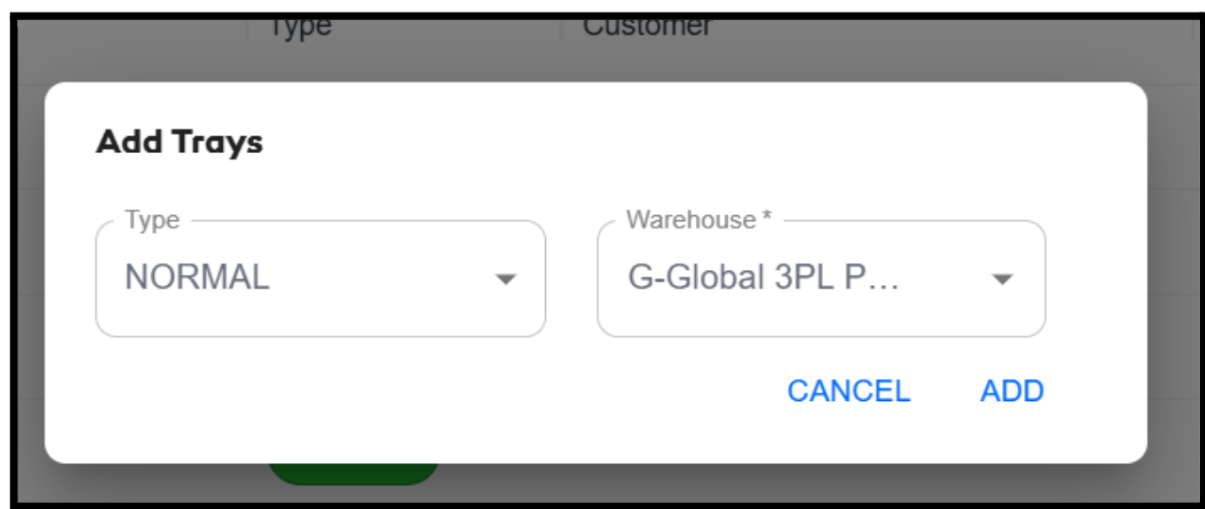
- Next, click on the ADD option to continue with the process.

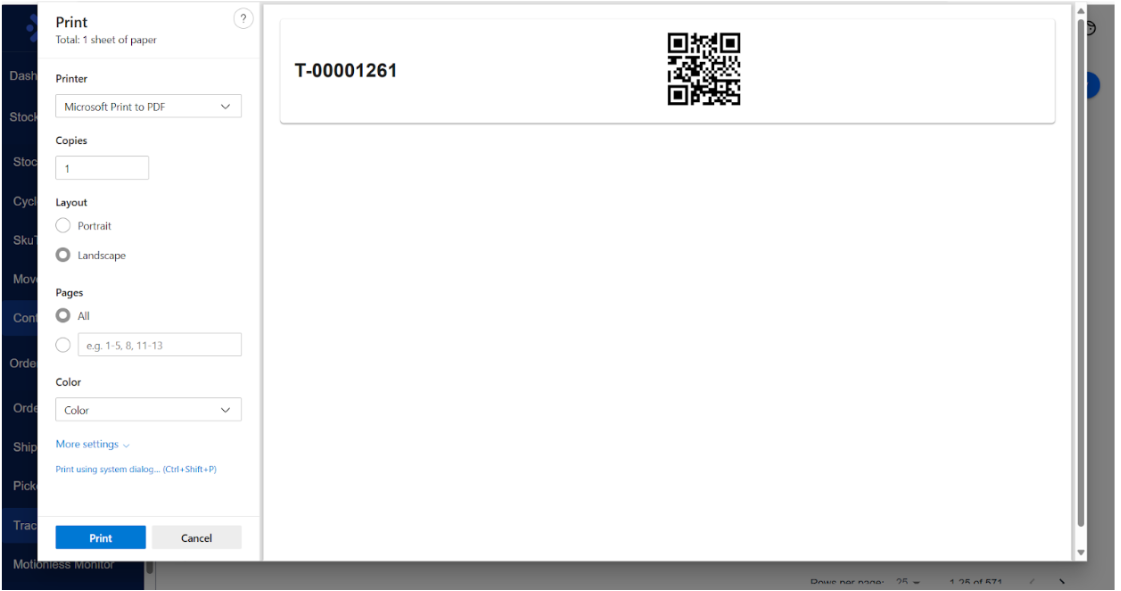
- The system will display a modal with a unique identifier and QR code, which will be used in picking and packing processes.
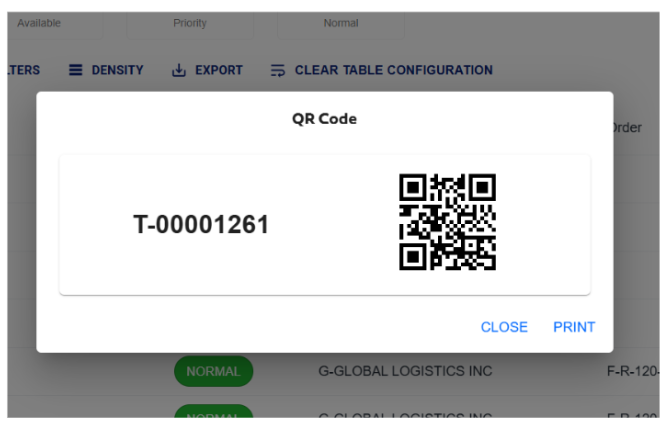
- To print the generated information, click on the PRINT option. The system will open a pop-up window from which you can print the tray data.
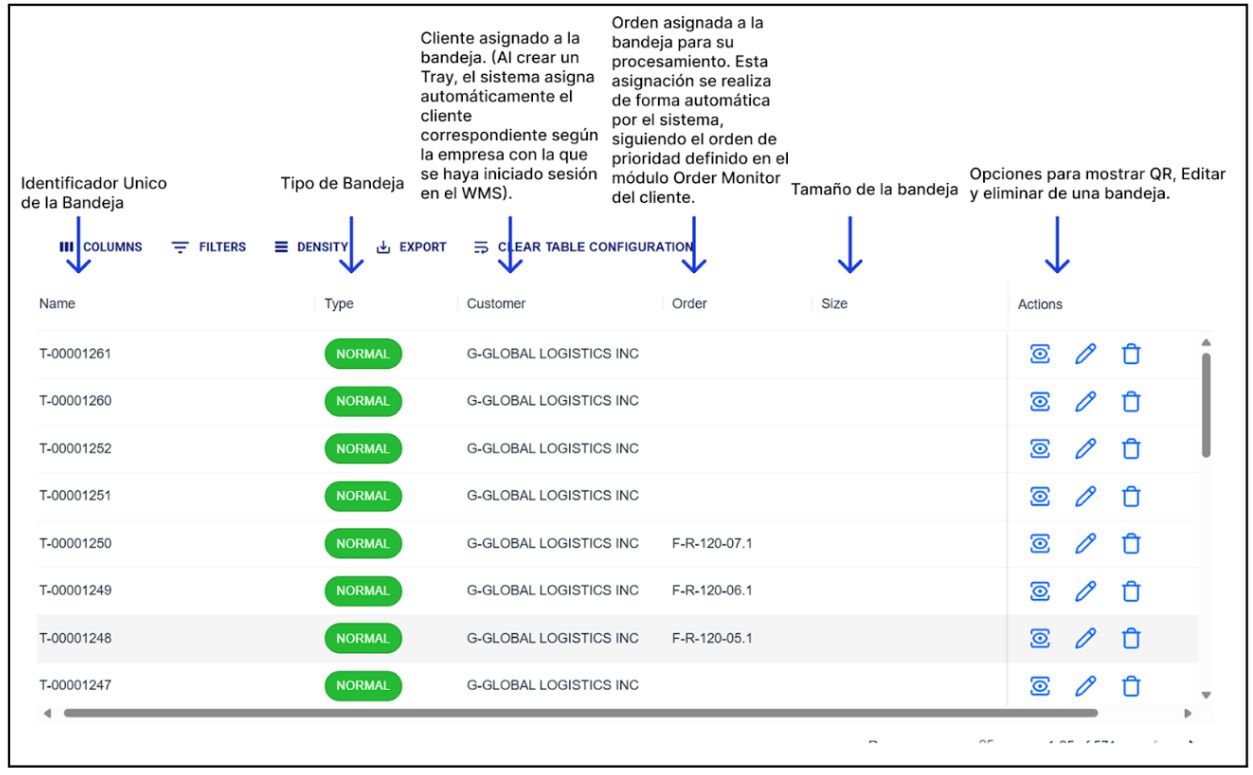
- Each time a tray is generated, the information is displayed in a table.
Edit a Tray
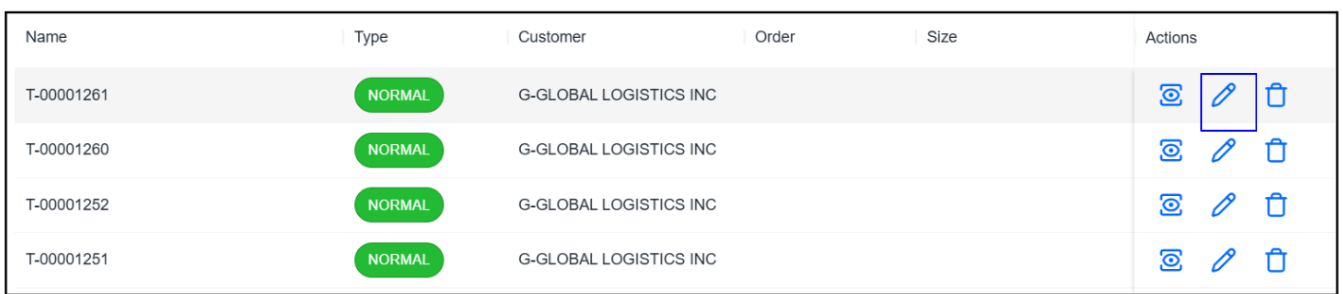
- Click on the corresponding edit option in the Actions column of the tray to be edited.
- A form will appear with the fields to be modified. In this case, the information to change is the Type and Warehouse, which are data assigned during the tray generation process described previously.
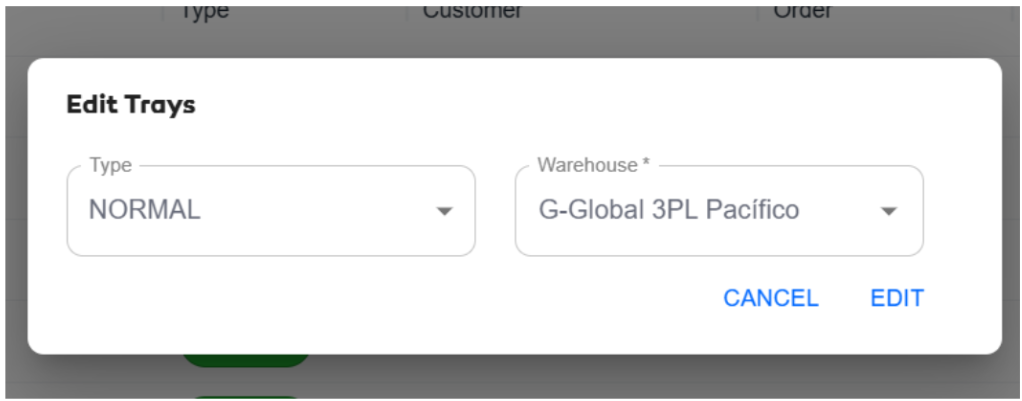
- Next, click on the Edit option to complete the process.

Delete a Tray
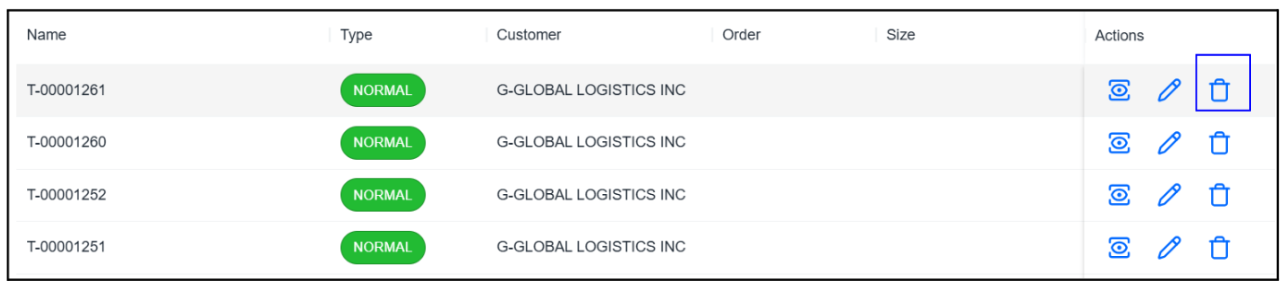
- Click on the indicated option to begin the tray deletion process.
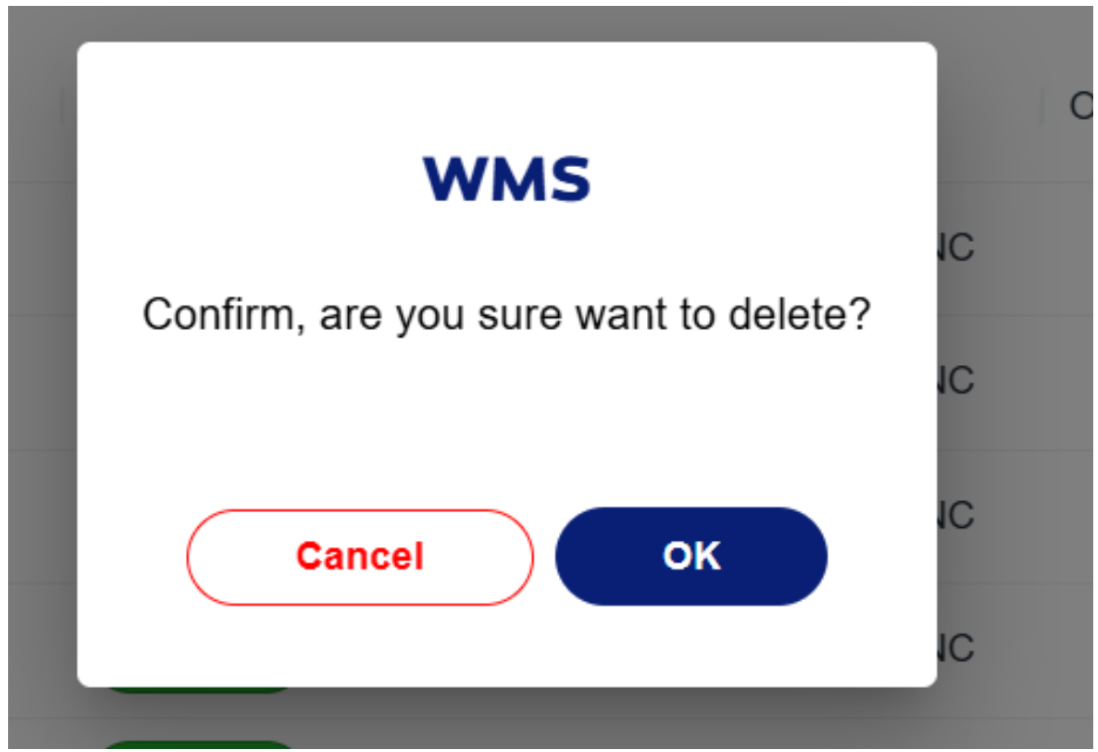
- A confirmation message will appear asking if you're sure you want to proceed. Click "OK" to continue with the process.
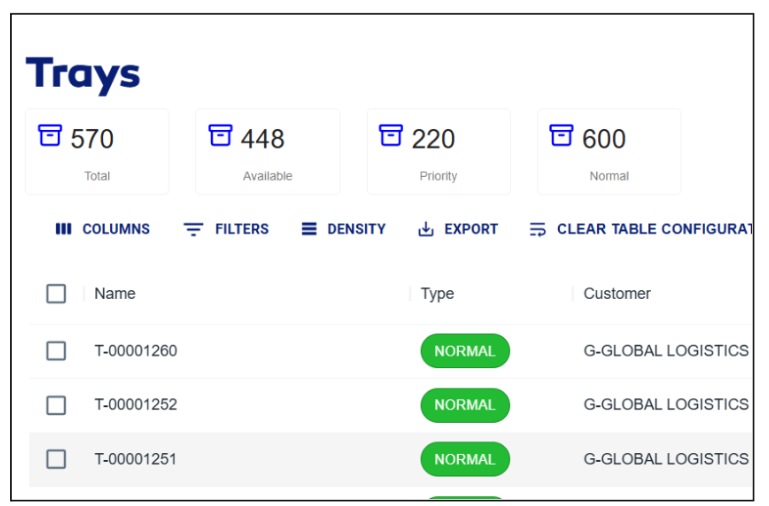
- The table and tray registration metrics in the view will update.
Generate Tray Sizes
- Click on the marked option to begin the tray size generation process.
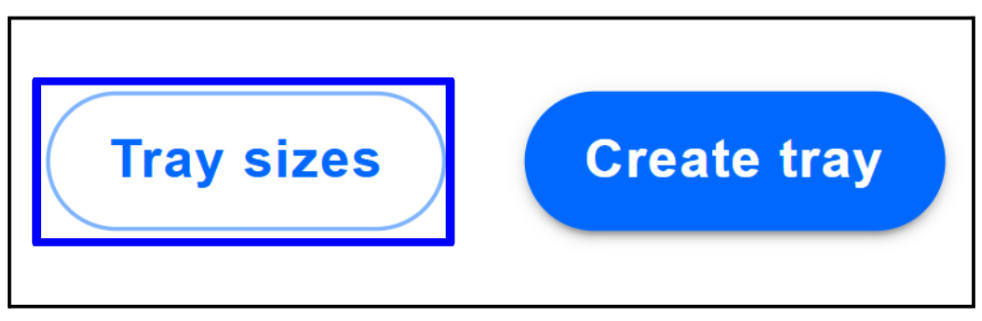
- The system will redirect to another view displaying created sizes.
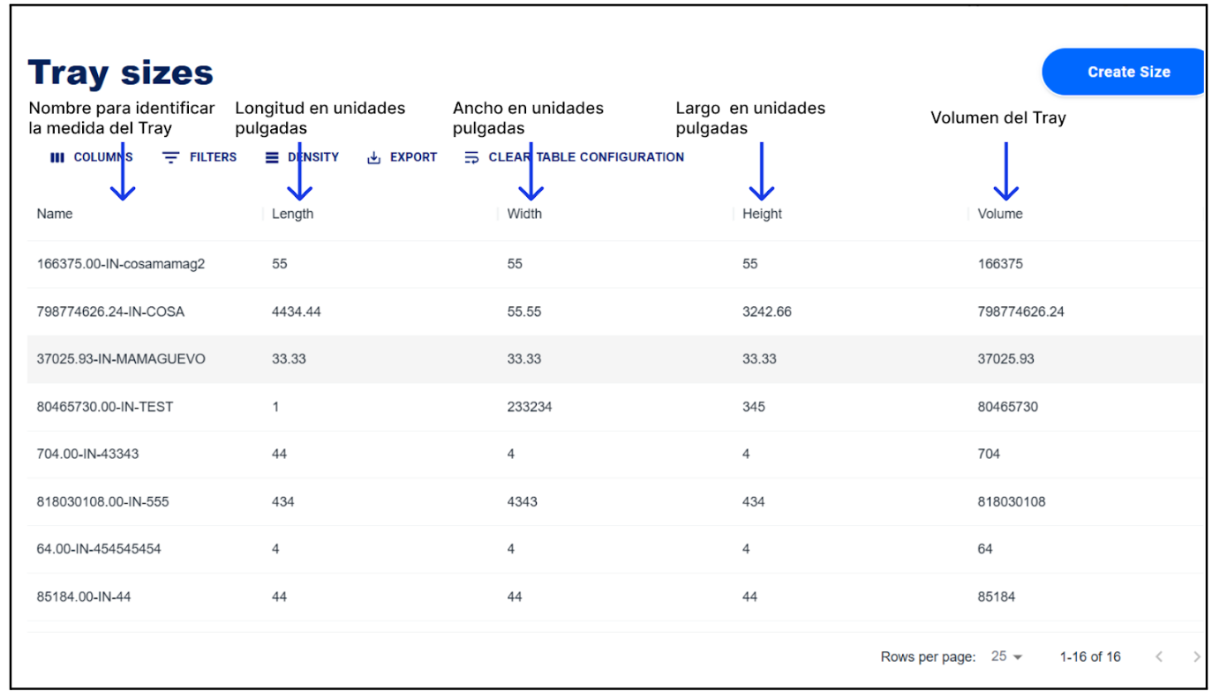
- Next, click on the Create Size option.
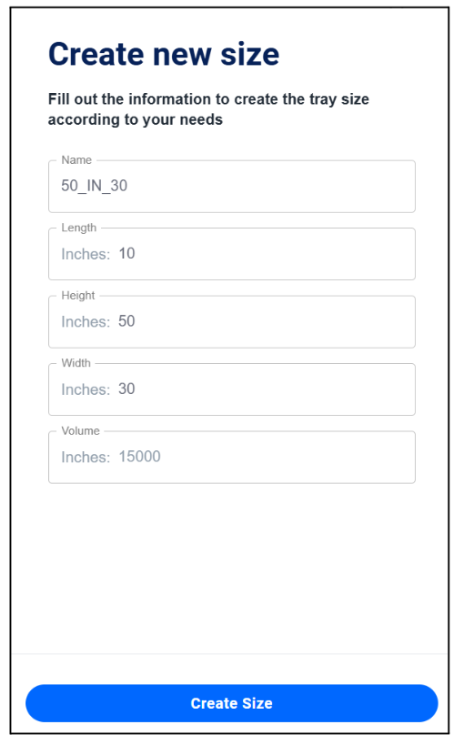
- A form will appear requesting:
- A name
- Length in inches
- Width in inches
- Height in inches
- The volume is automatically calculated by the system
- Finally, click on the Create Size button.
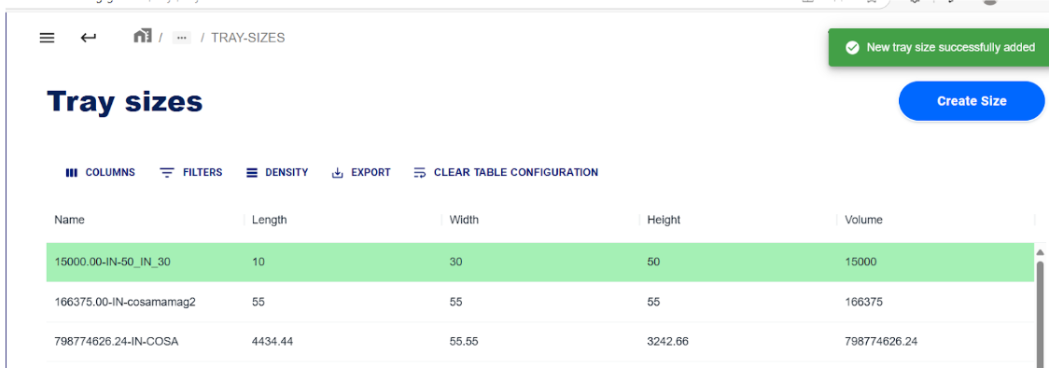
- The system will display a green message indicating successful registration, and will highlight the table in green to show the newly created size.